Working with Unity Scenes
Unity is a popular commercial game engine. Unity projects published for the WebGL platform can be imported into Scalar and displayed like other media.
In addition, with our free Scalar/Unity Bridge you can achieve greater integration between Scalar and Unity, enabling your Unity scenes to be annotated by Scalar in 3D, and your Unity scenes to call data from your project using the Scalar API.
Basic Importing
A Unity WebGL scene is made up of a collection of files within a folder. For full annotation functionality, the folder must be hosted on the same domain where Scalar is installed — which means you’ll likely need to see up your own Scalar install on a server you control. Note that this folder also cannot be uploaded from within Scalar; you’ll need to upload it to your server manually via FTP. A common approach is to place the Unity folder in media folder of the book to which it belongs.
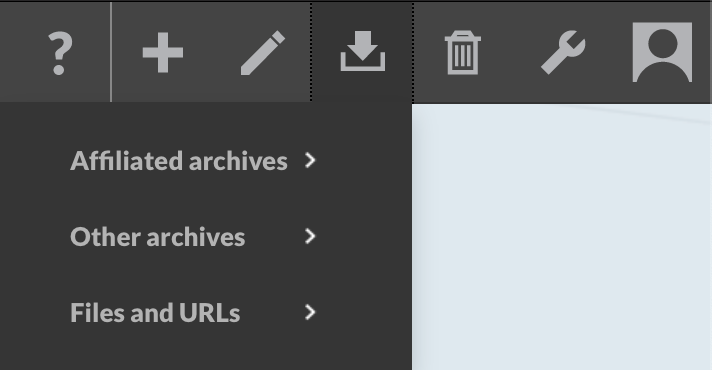
To import a Unity WebGL project, click the import icon on your Scalar header bar and select “Files and URLs” and then “Link to media files”. Enter the URL to the file named “index.html” in your build folder (this URL will depend on where you uploaded the folder). Select “Unity WebGL scene” from the Media type drop-down menu, and then click “Save and view”.
You should now be able to view, link, and embed your Unity scene like any other Scalar media.
Scalar/Unity Bridge
A free Unity library called scalar-for-unity is available on github that enables Scalar and Unity to communicate with each other — see the README of that project for details on to set up these integrations.
Once the integration is working, you can follow these instructions to annotate your 3D scene in Scalar.
This page has paths:
- Working with Media Erik Loyer