Lens content menu
1 media/lens-content_thumb.png 2021-05-12T13:24:19-07:00 Erik Loyer f862727c4b34febd6a0341bffd27f168a35aa637 3296 1 A screen shot of the Lens editor’s content menu. plain 2021-05-12T13:24:19-07:00 Erik Loyer f862727c4b34febd6a0341bffd27f168a35aa637This page is referenced by:
-
1
2021-05-12T12:07:32-07:00
Editing Lenses
14
Learn how to edit a Lens.
plain
2021-09-10T13:50:06-07:00
Whether it appears on the Manage Lenses screen or on a lens’ standalone page, the lens editor functions in the same way. The editor displays the lens’ title at the top left, its various expression components at the bottom left, the number of results it returns in the top right, and an options menu in the bottom right.
Getting started
A new lens contains a single visualization menu and a single content selection menu. Making selections from those menus will open various modal windows as needed to configure the component. Next to those menus is a “plus” button which allows additional content selections, filters, and sorts to be added. Every time a change is made to the lens, its results are retrieved and displayed (the current result count is displayed in the top right corner).
If you have editing privileges for the lens, a number of options are available.Changing the lens title
You can directly edit the title of the lens in the editor.
Editing the lens expression
The expression is the set of rules that determine what content will be returned by the lens. It’s represented by a set of colored drop-down menus, each of which identifies a separate component of the expression.
Expression components
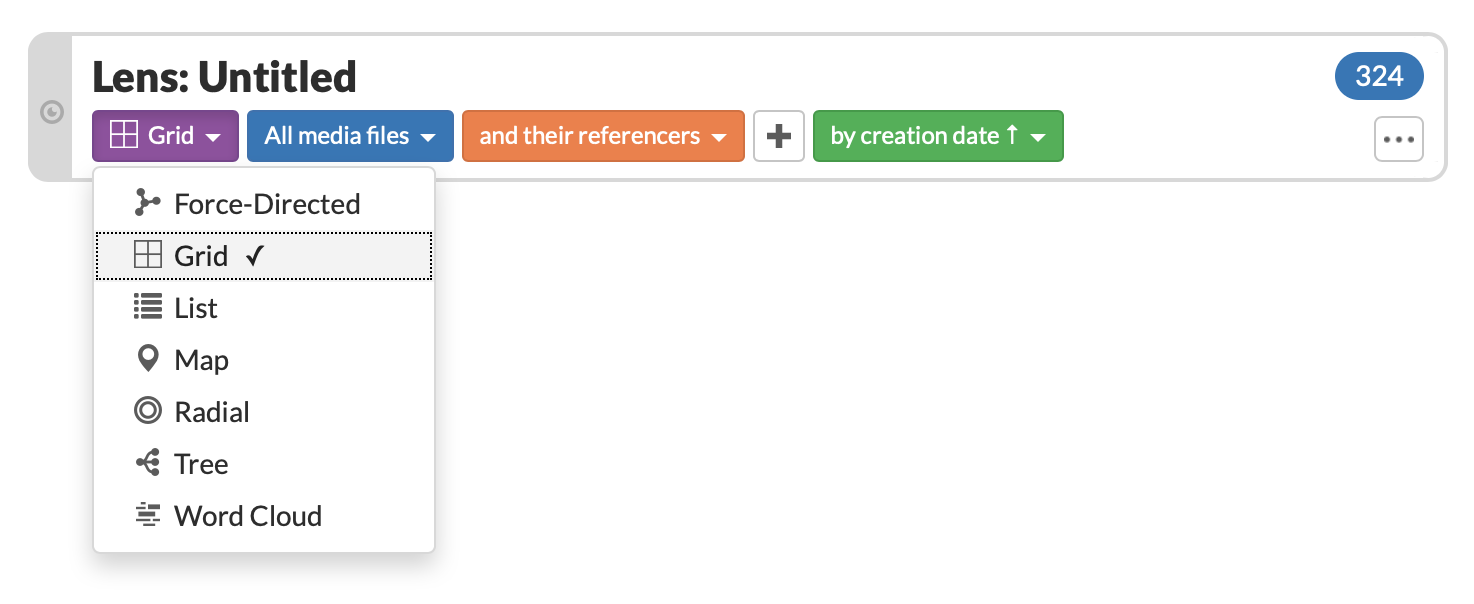
Visualization (purple)
A lens is a dynamic visualization, so every lens expression begins by indicating which Scalar visualization will be used to render the results returned by the lens.
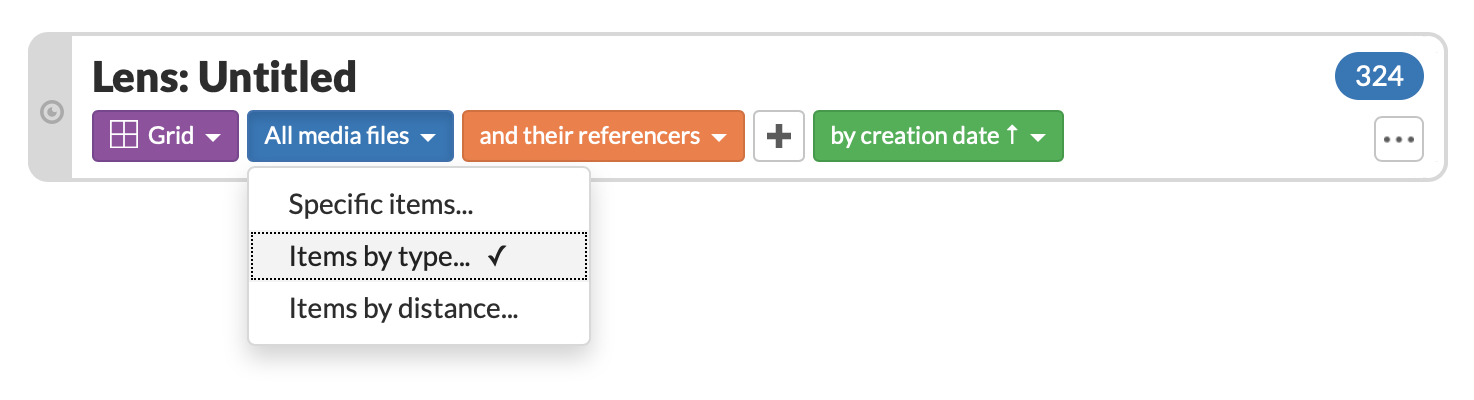
Content selections (blue)
A visualization needs something to visualize, and so the next component of every lens expression is a selection of content from the current Scalar project. This is might be a set of specific, hand-picked items, a set of items with the same type, or a set of items geo-tagged within a certain distance of a particular location. The three types of content selections are as follows:
Specific items...
Enables you to select any combination of individual content items to include in the lens.Items by type...
Allows you to select entire groups of items (annotations, pages, etc.) from the book.Items by distance...
Enables you to select items from the book that are geo-located within a specific distance (in miles or kilometers) from a given latitude/longitude pair. Note that latitude and longitude must be entered in decimal format, with negative latitudes representing the southern hemisphere, and negative longitudes representing the western hemisphere.Working with multiple content selections
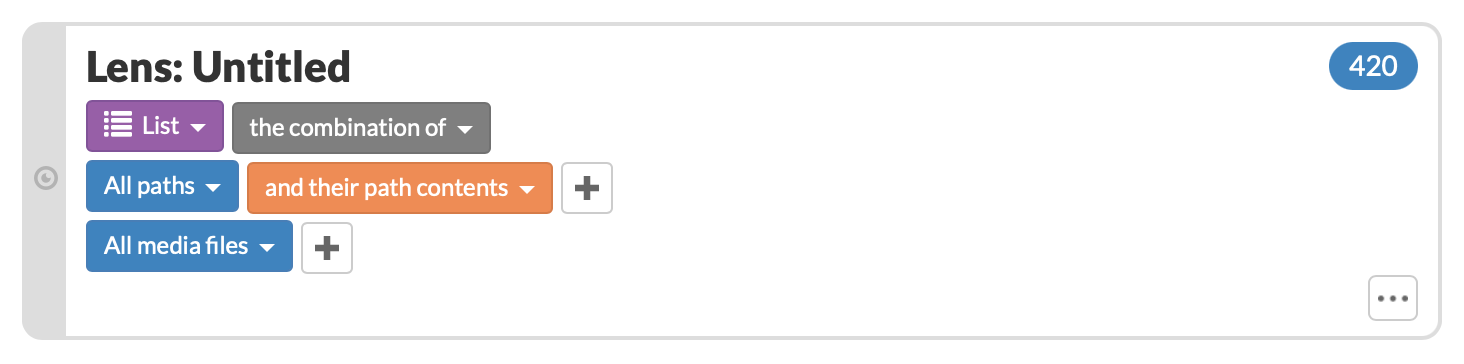
To construct more complex queries, you can add more than one content selection to a lens. As soon as a second content selection is added, a gray drop-down menu appears at the top of the editor allowing you to configure whether the lens should return either the combined set of all content selections (combination), or just the results that all of the selections have in common (intersection).
Filters (orange)
Each content selection can be modified with one or more optional filters. Content can be filtered by type, by text content, Scalar relationship, distance from a geotagged item, quantity, metadata content, and date last visited. Note that the relationship filter is the only one which can actually expand the content selection, by adding related items (for example, all of the items tagged or annotated by the original selection).
Sorts (green)
Sorts appear after all content selections — they determine the order of the complete set of content returned by the lens. Content can be sorted alphabetically by title, by creation or modification date, by distance from a location, by Scalar type, number of relationships, number of text matches, or by visit date.