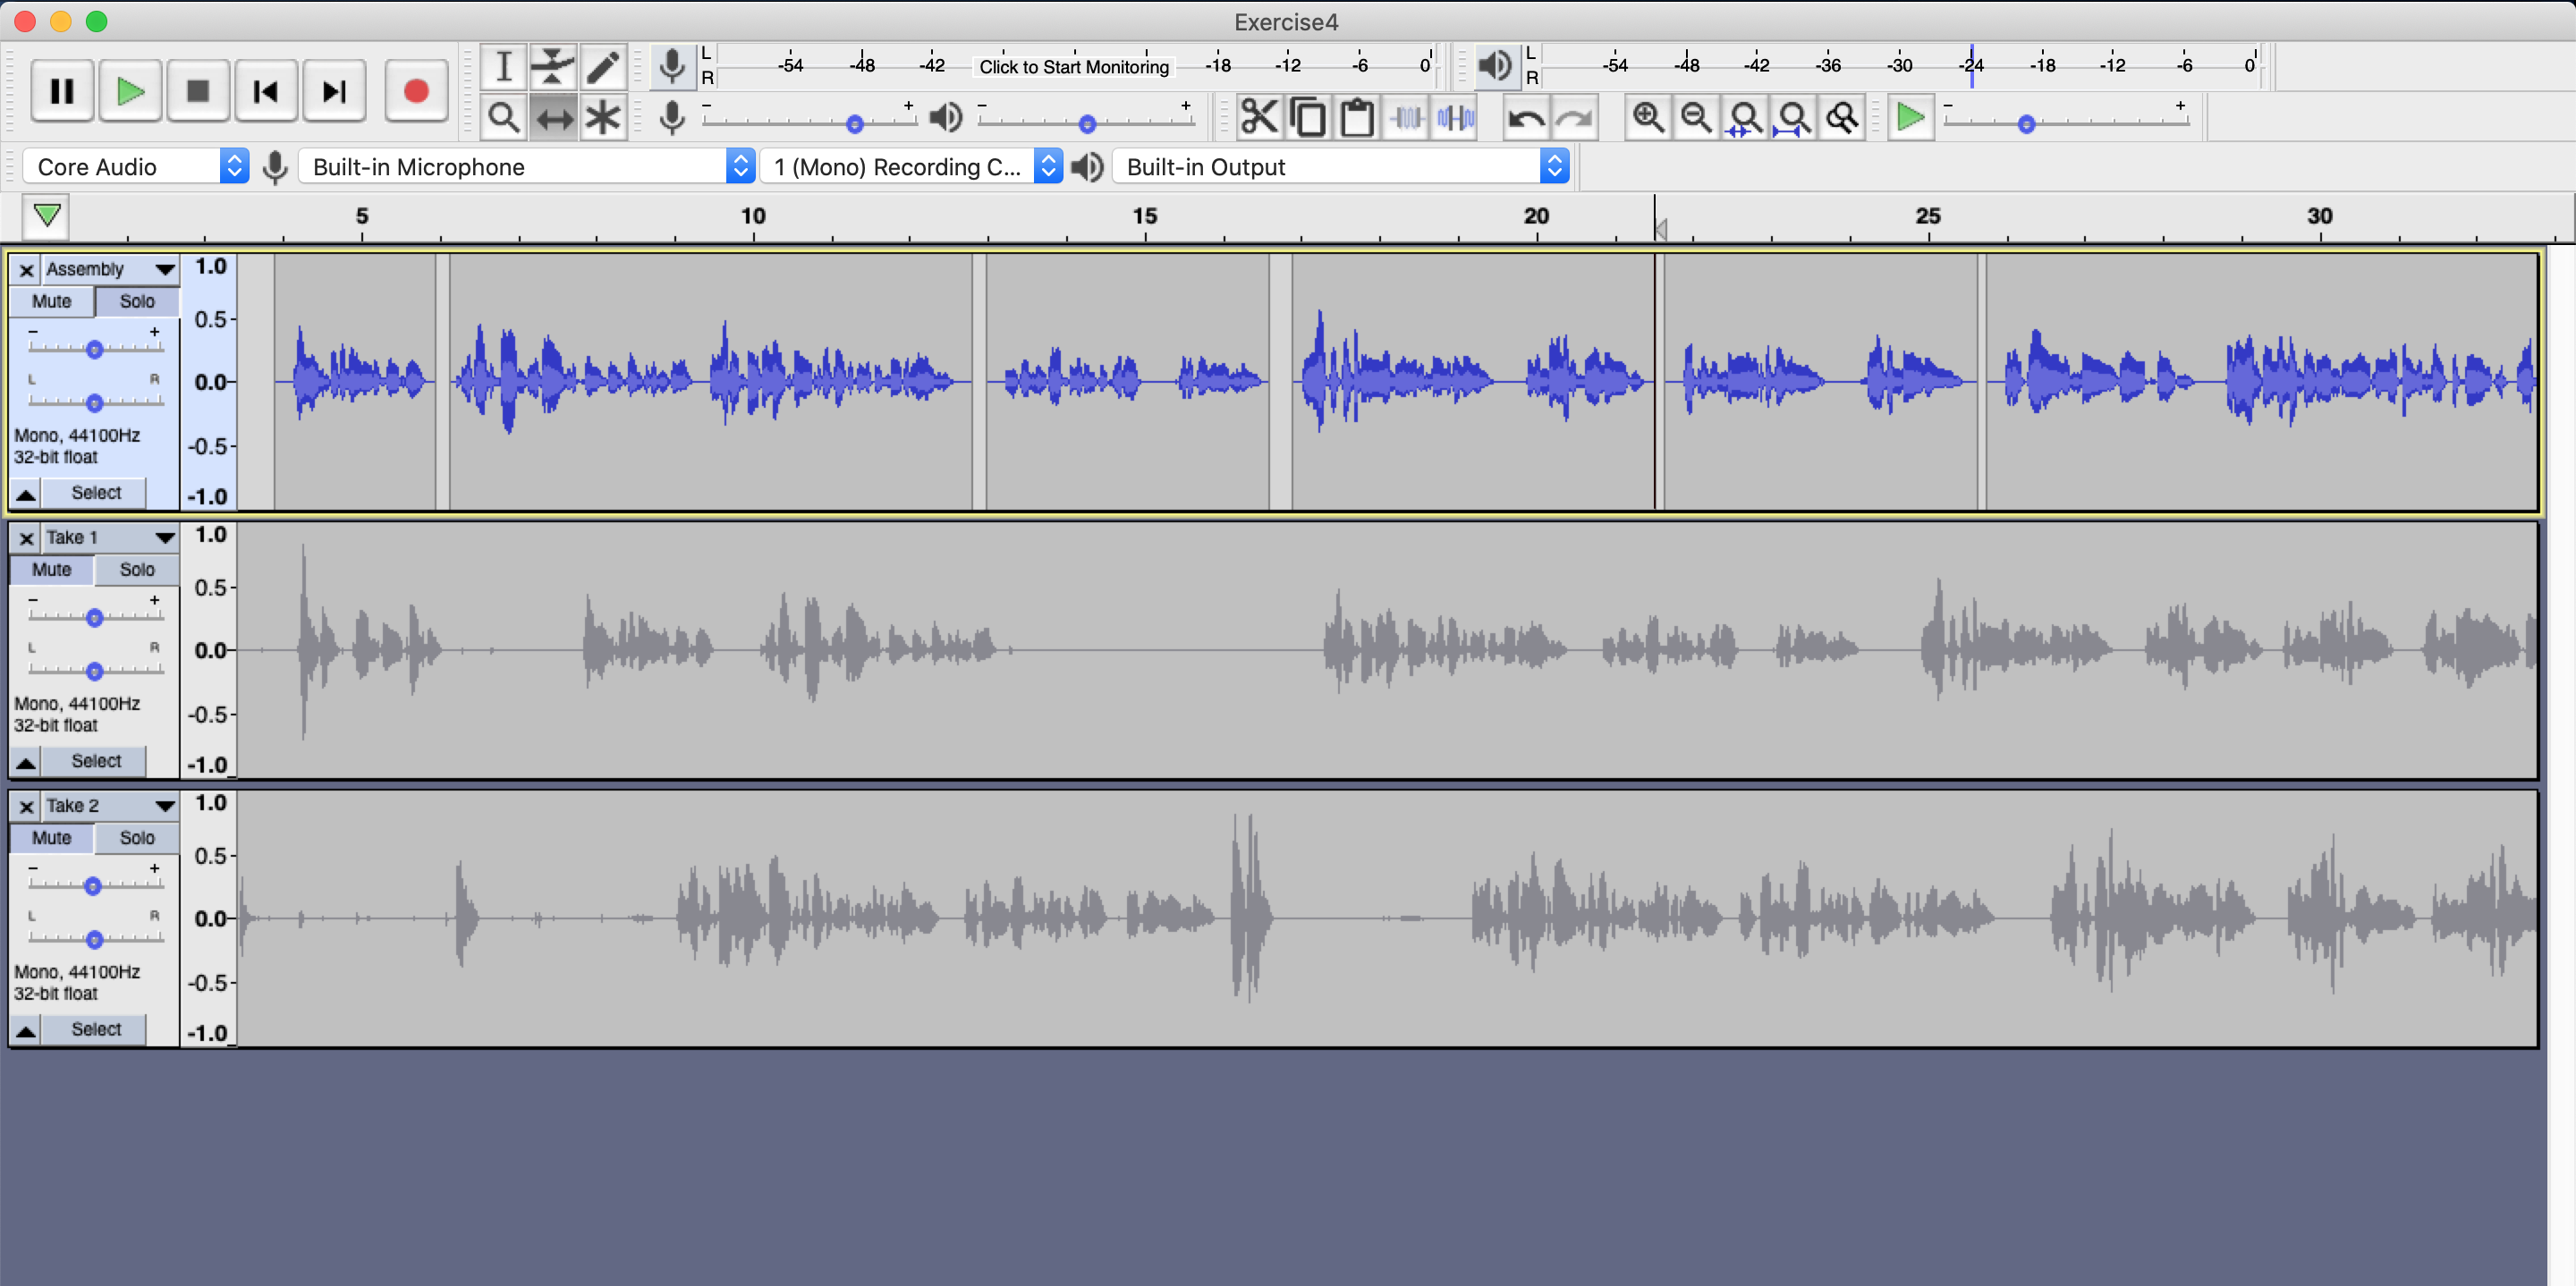
12020-10-27T07:34:22-07:00Practicum: Assembling Your Sound11plain2020-10-28T10:14:25-07:00In this stage, you need to listen to your recording, identify the best takes, and assemble them on one track. Please note that there is more than one way to cut, copy, and move audio clips, and not all are mentioned here. (See the Audacity manual for other techniques.)
When you are done, your assembly should look something like this: Here are some steps you can use to create your assembly:
12020-10-02T09:17:01-07:00Editing in Audacity10plain2020-10-27T07:31:48-07:00
Step Four: Assembling Your Sound
Here you will learn how to split, copy, and move audio clips. As part of this step, you will need to listen to the recordings to identify the best takes. When you have concluded, your assembly should look something like this: This video will show you the skills and techniques to create your assembly:
Step Five: Adjusting the Timing and Clean Up
At this point, you are going to smooth out the sound by adding crossfades and in and out fades, adjusting the timing between the clips (the pacing of the reading), and cleaning up more difficult clicks and pops when possible. This video will show you the skills and techniques you will need as well as teach you about the multitool.
Step Six (optional): Improving Vocal Quality
Finally, if you would like, to experiment with effects that might improve the audio quality by following CasualSavage's "How To Improve Voice Quality in Audacity 2020" video. (CasualSavage has a number of helpful videos on Audacity and audio recording more broadly.) I recommend you create a new track and copy your sound clip so that you can compare the two clips.
Step Seven: Exporting
Now that you are done, it’s time to export your audio. If you feel comfortable with it, share your audio file with me. I’d love to hear how it turned out and about your process.
To conclude, we'll look at some other tools. That information will be made available October 3rd.