Creating Case Nodes
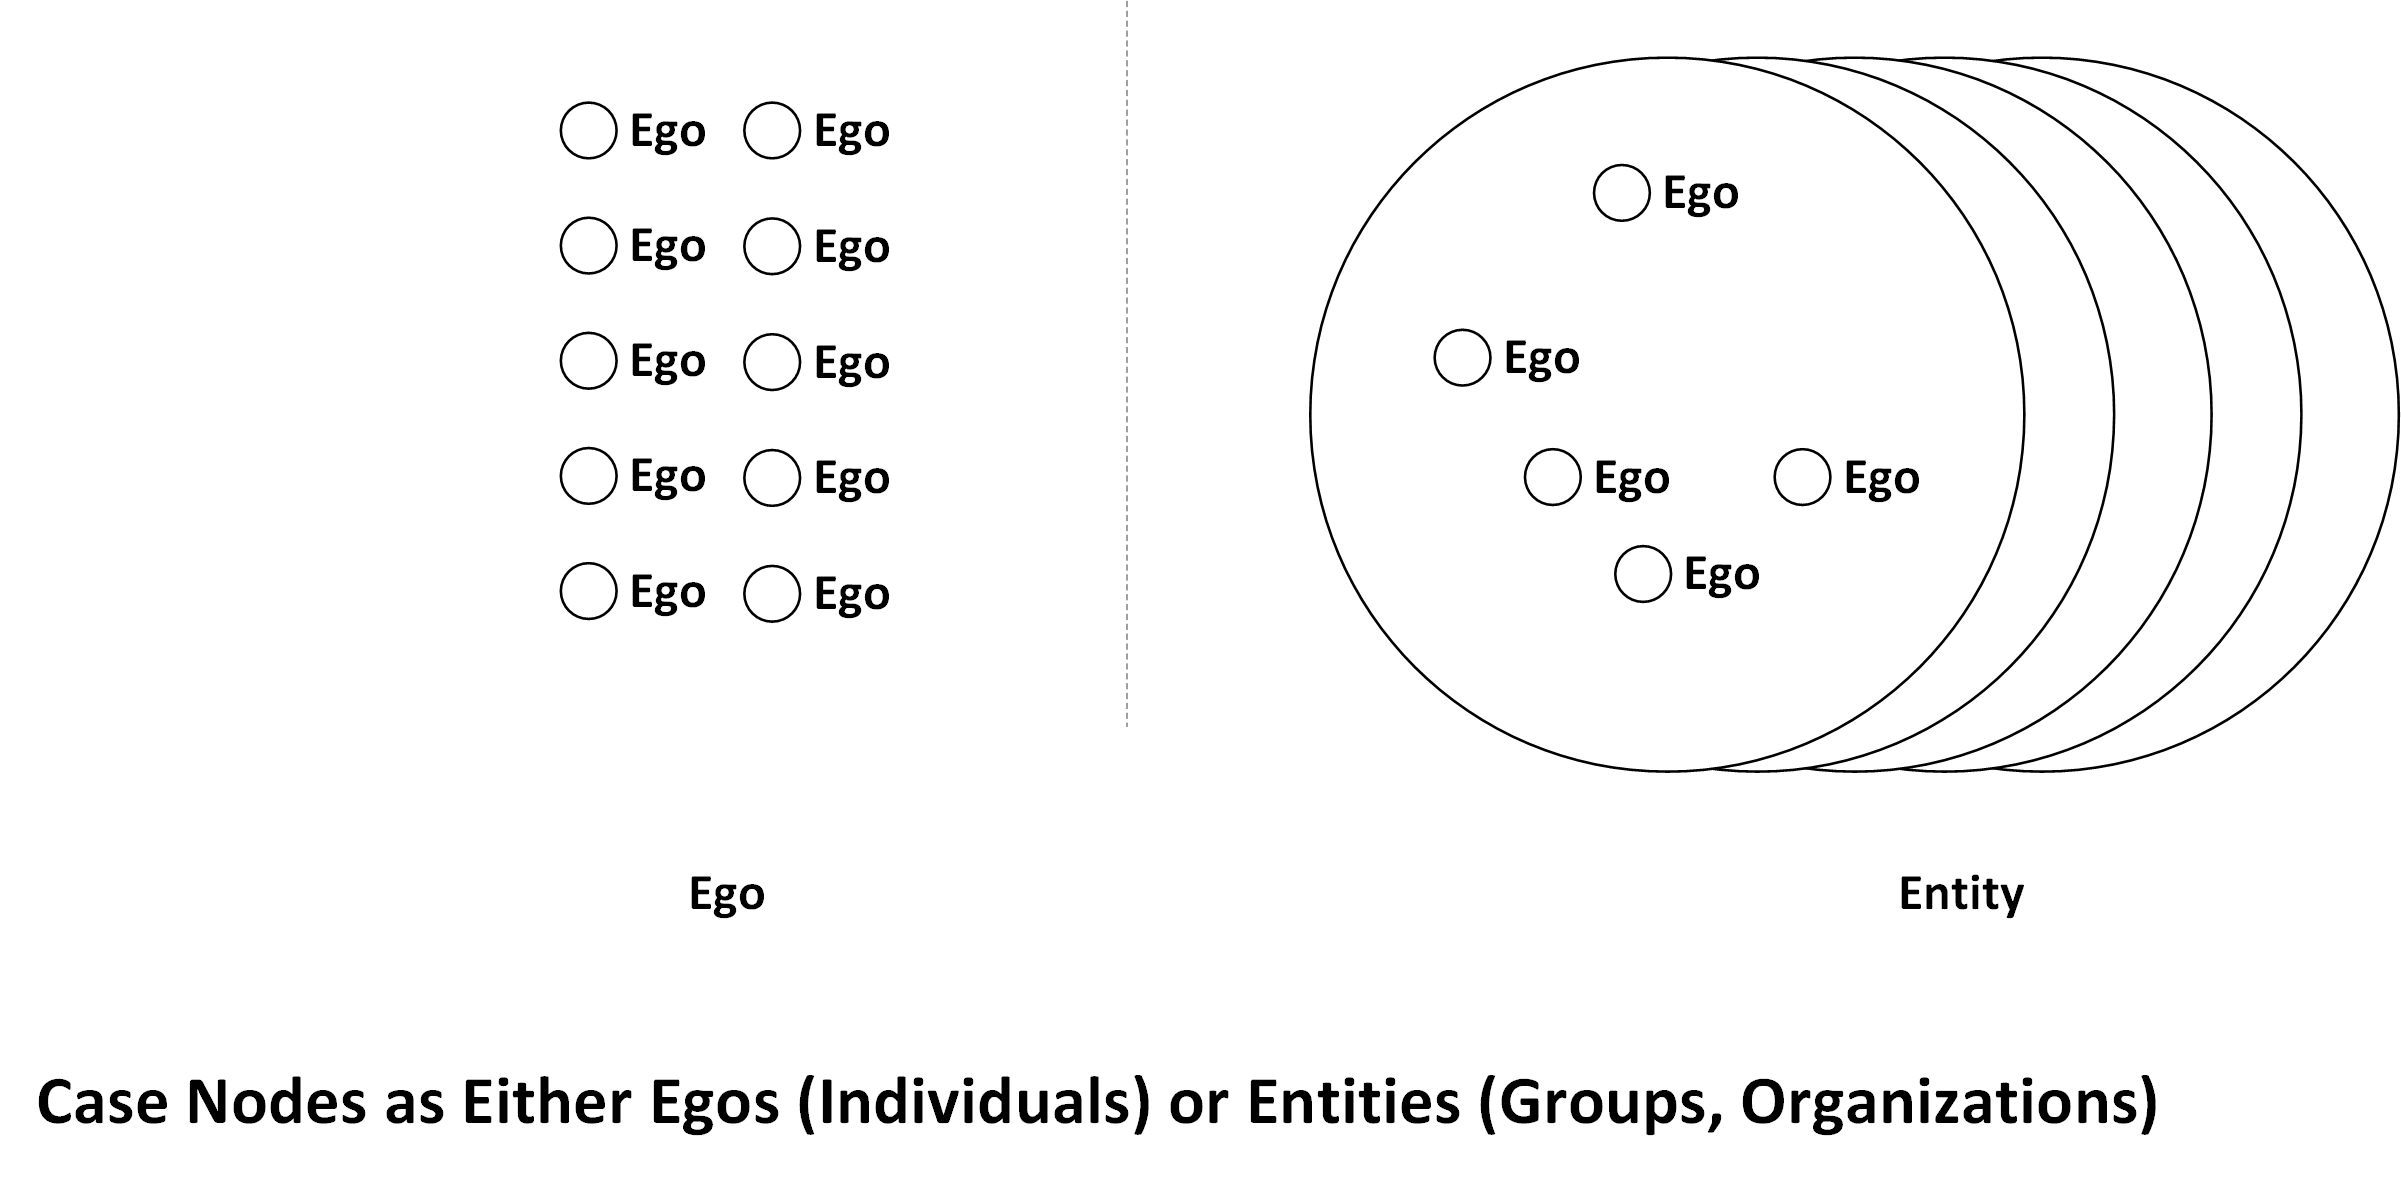
Case nodes are powerful for research because they represent people or groups of people. People (egos) may be those who responded to an online survey or participated in interviews or focus groups, for example. Groups (entities) may be those who responded as organizations to surveys, and others.
Both egos and entities not only provided direct information, but they both involve respective "attributes" or "descriptors." People may be labeled with particular demographic data, such as age, race, ethnicity, class, education level, earnings, geographical locations, and others. Organizations may be labeled with particular details like sector, size, budget, and so on. These respective classifiers may be used to cluster respondents and their respective responses...for additional research insights.
Usually, egos are compared with egos, and entities with entities (apples to apples, oranges to oranges). It is possible to have both types of cases in a project, but it would be helpful to keep them in separate folders and marked up with separate classification sheet types.
In NVivo 11 Plus, cases (case nodes) are considered a crucial part of data analysis, and these have been raised to the level of sources and nodes—the two former base elements of an NVivo project. “Sources” are data and information files (such as texts, images, audio files, video files, and others), and “nodes” are the codes applied to the raw data and processed information. “Cases,” in NVivo 11 Plus, are node types that represent individuals (“egos”) and groups (“entities”).
Attributes / Dimensions of Case Nodes
The case nodes may be described by attributes (descriptors) in assigned classification sheets. (There are default variables in pre-defined classification sheets. Default classification sheets may also be modified. Wholly new types of classification sheets may be created and applied uniquely to case nodes.) The attributes of case nodes may be manually input into the classification sheets. This data will enable queries based on particular categories of attributes (such as queries of individual persons based on various demographic features or outcome states, such as queries of groups based on various descriptive features like locations or organization sizes or years of origin).
Case nodes may be comprised of interviews or survey responses or other textual data representing the particular individual / person, or other textual data representing entities or organizations.
Creating Case Nodes from Ingested Interview or Survey Document Files
There are several ways to create case nodes.
In ingesting Documents which are all interviews representing individual respondents, researchers may
Ribbon -> Data tab -> Documents -> Ingest the documents -> Highlight all -> Right-click -> Create as cases
Another similar approach is to import a dataset into the NVivo 11 Plus project. Here, a dataset may be ingested…and then the dataset may be viewed, the individual records (in the rows) may be highlighted and coded as individual case nodes.
The path is as follows:
Ribbon -> Data tab -> Dataset icon -> Browse to database file or spreadsheet file ->
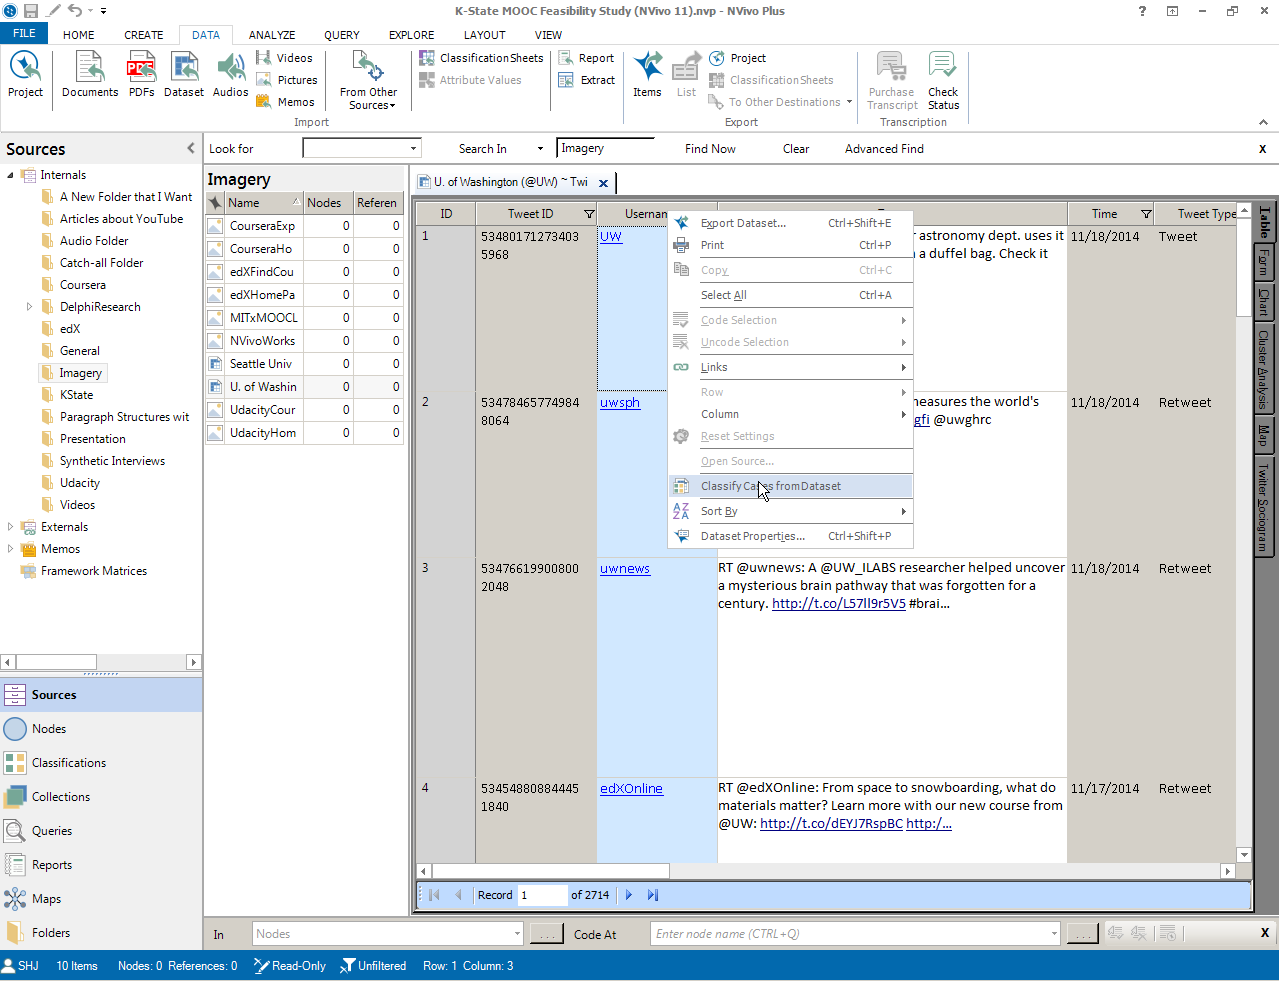
This coding of individual records as case nodes is done through the “Classify Cases from Dataset Wizard.”
Open the dataset -> Highlight the column with user names -> Right-click -> Select “Classify Cases from Dataset” in the dropdown menu
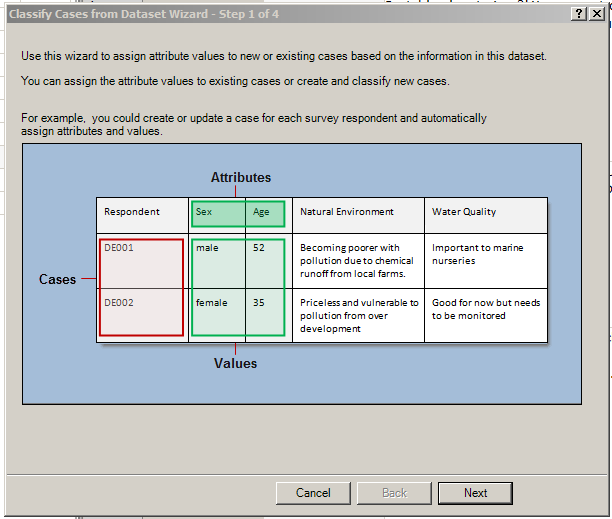
The “Classify Cases from Dataset Wizard” window will open. Go through the 4-step wizard code the data.
The first step involves conveying the data structure. Generally, identifiers are listed in the far left column. Header labels are used for all the data columns.
After defining that, click “Next.”
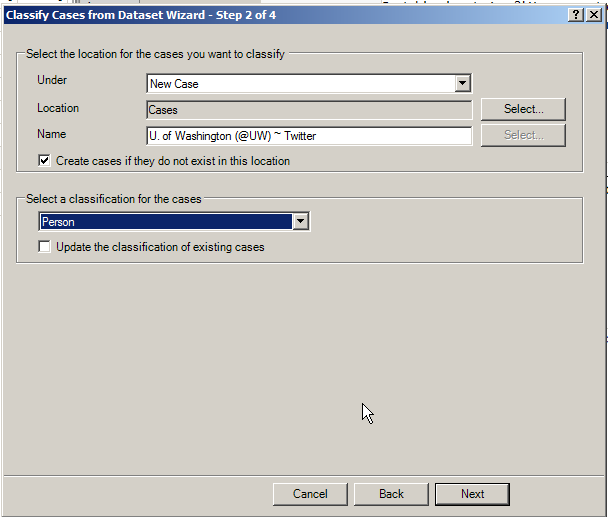
In Step 2, researchers select the location of the cases that they want to classify, and they also select attributes of the cases. Click “Next.”
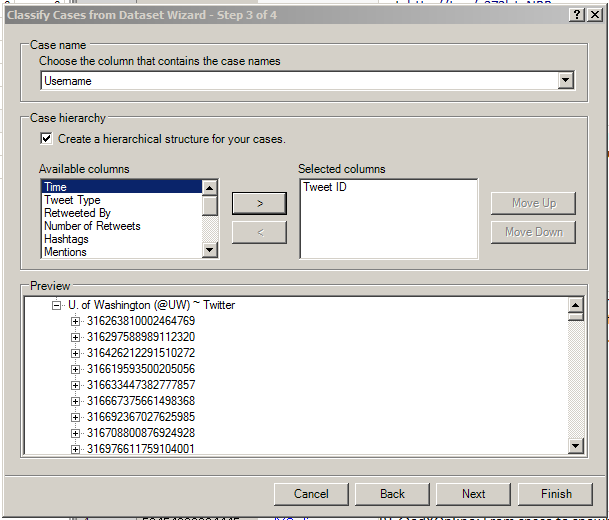
In Step 3, researchers are to select the column with the case names…and to select from the other columns to set up a hierarchical structure for the cases.
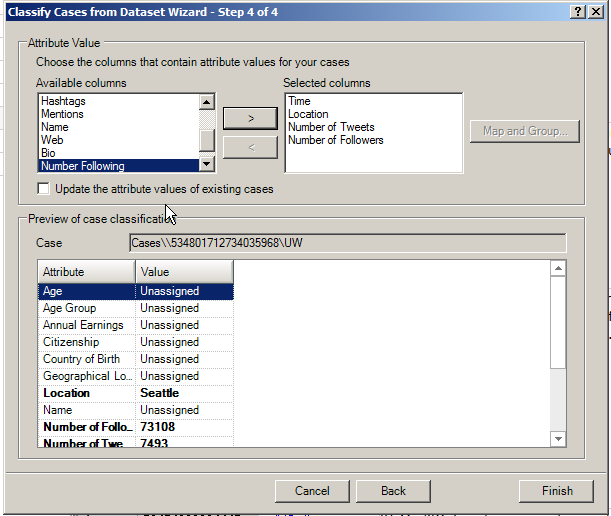
Click “Next.” The final step involves selecting the various data columns as attribute values.
Click “Finish.” Then go to “Nodes” -> Cases in the Navigation View to check the created nodes.
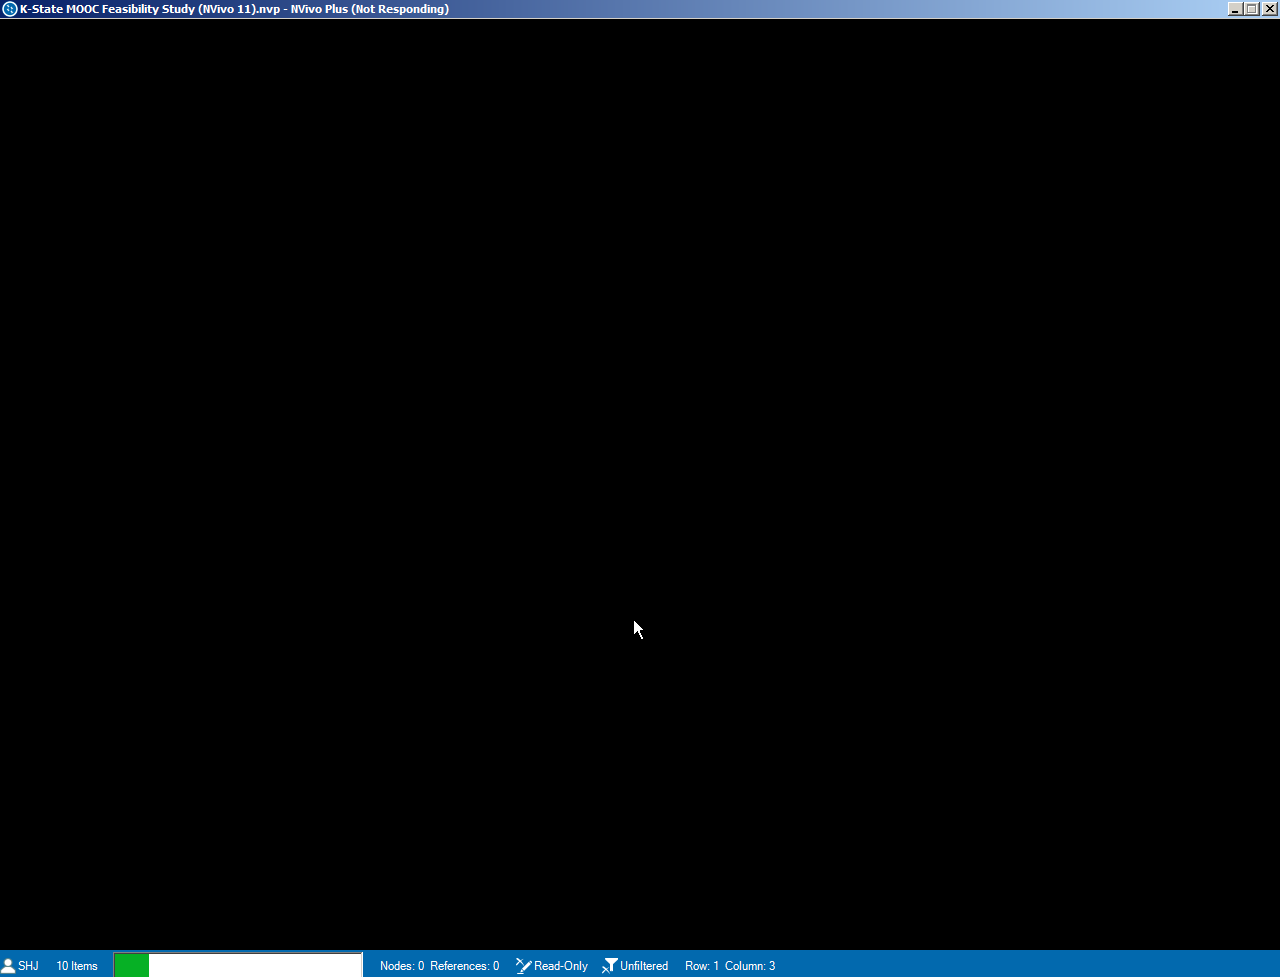
In this case, the dataset was too large for coding, and it overwhelmed the laptop’s computational capabilities.
Creating Case Nodes from Scratch
Another way to create case nodes is to take the following path:
Ribbon -> Create tab -> Case icon in the Nodes area ->
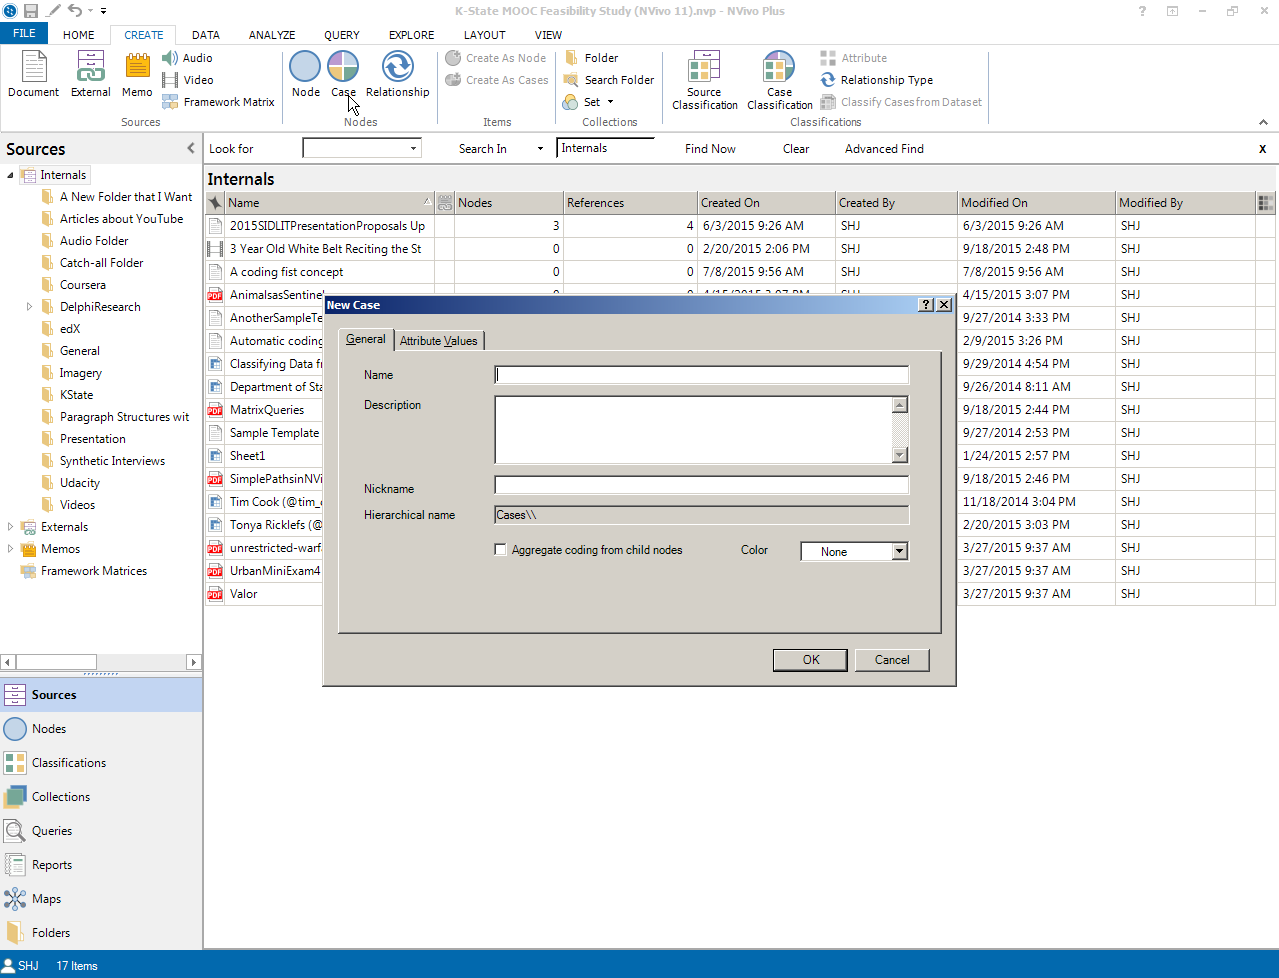
On clicking the button, the user will get a New Case window.
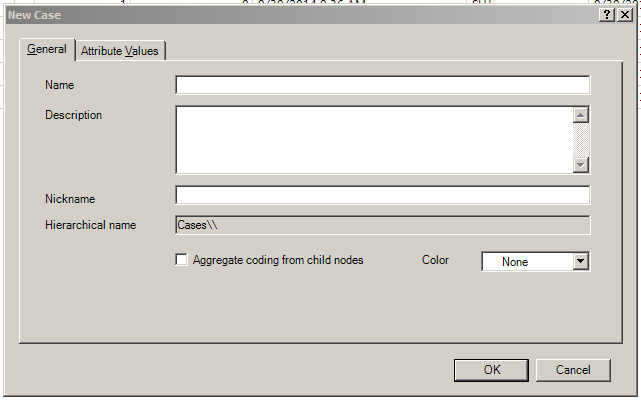
Here, the user should name the node, provide a basic description to explain the contents of the node, decide whether to aggregate coding from child nodes (usually yes), whether to apply a nickname or a color, and then decide whether to apply some attribute values to this node.
These created case nodes may be viewed as follows:
Nodes (in the Navigation View) -> Cases (folder) -> List View -> Detail View (for editing and coding work)
| Previous page on path | "Using NVivo" Cover, page 19 of 58 | Next page on path |
Discussion of "Creating Case Nodes"
Add your voice to this discussion.
Checking your signed in status ...