The Digitization Process
Step 1: Collection Management
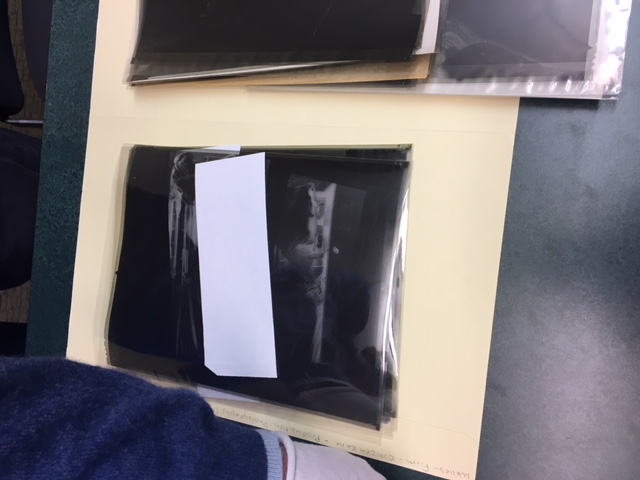
When this collection came to the University of Michigan, it was entirely unprocessed and unorganized. We decided to eschew the traditional archival practice of original order in favor of improving the accessibility of the objects. We brought together pairs of prints and negatives and arranged the collection by set number. Each photograph was then assigned a unique identifier based on the set number and its order in the folder.
We chose to describe this collection at the item level so that researchers are better able to find specific photographs. Our descriptive metadata uses Dublin Core to maximize interoperability. The technical metadata uses the NISO Technical Metadata for Digital Still Images.
Step 2: Research Standards and Guidelines
Due to the rare content and nature of the materials in this collection we set out to create the highest quality digital archival masters and production masters possible. To do so we turned to the FADGI (Federal Agencies Digital Guidelines Initiative) Technical Guidelines for Digitizing Cultural Heritage Materials. While we were not able (due to equipment limitations) to live up to the full degree of the standards for our material, we matched them as best we could.
For information on the FADGI Guidelines for Photographs:
media/fadgi-still
For information on the FADGI Guidelines for Large Format Negatives:
media/fadgi-lare-format-negatives
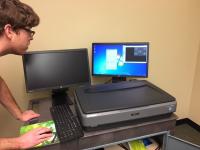
Step 3: Scanning and Testing Image Qualities
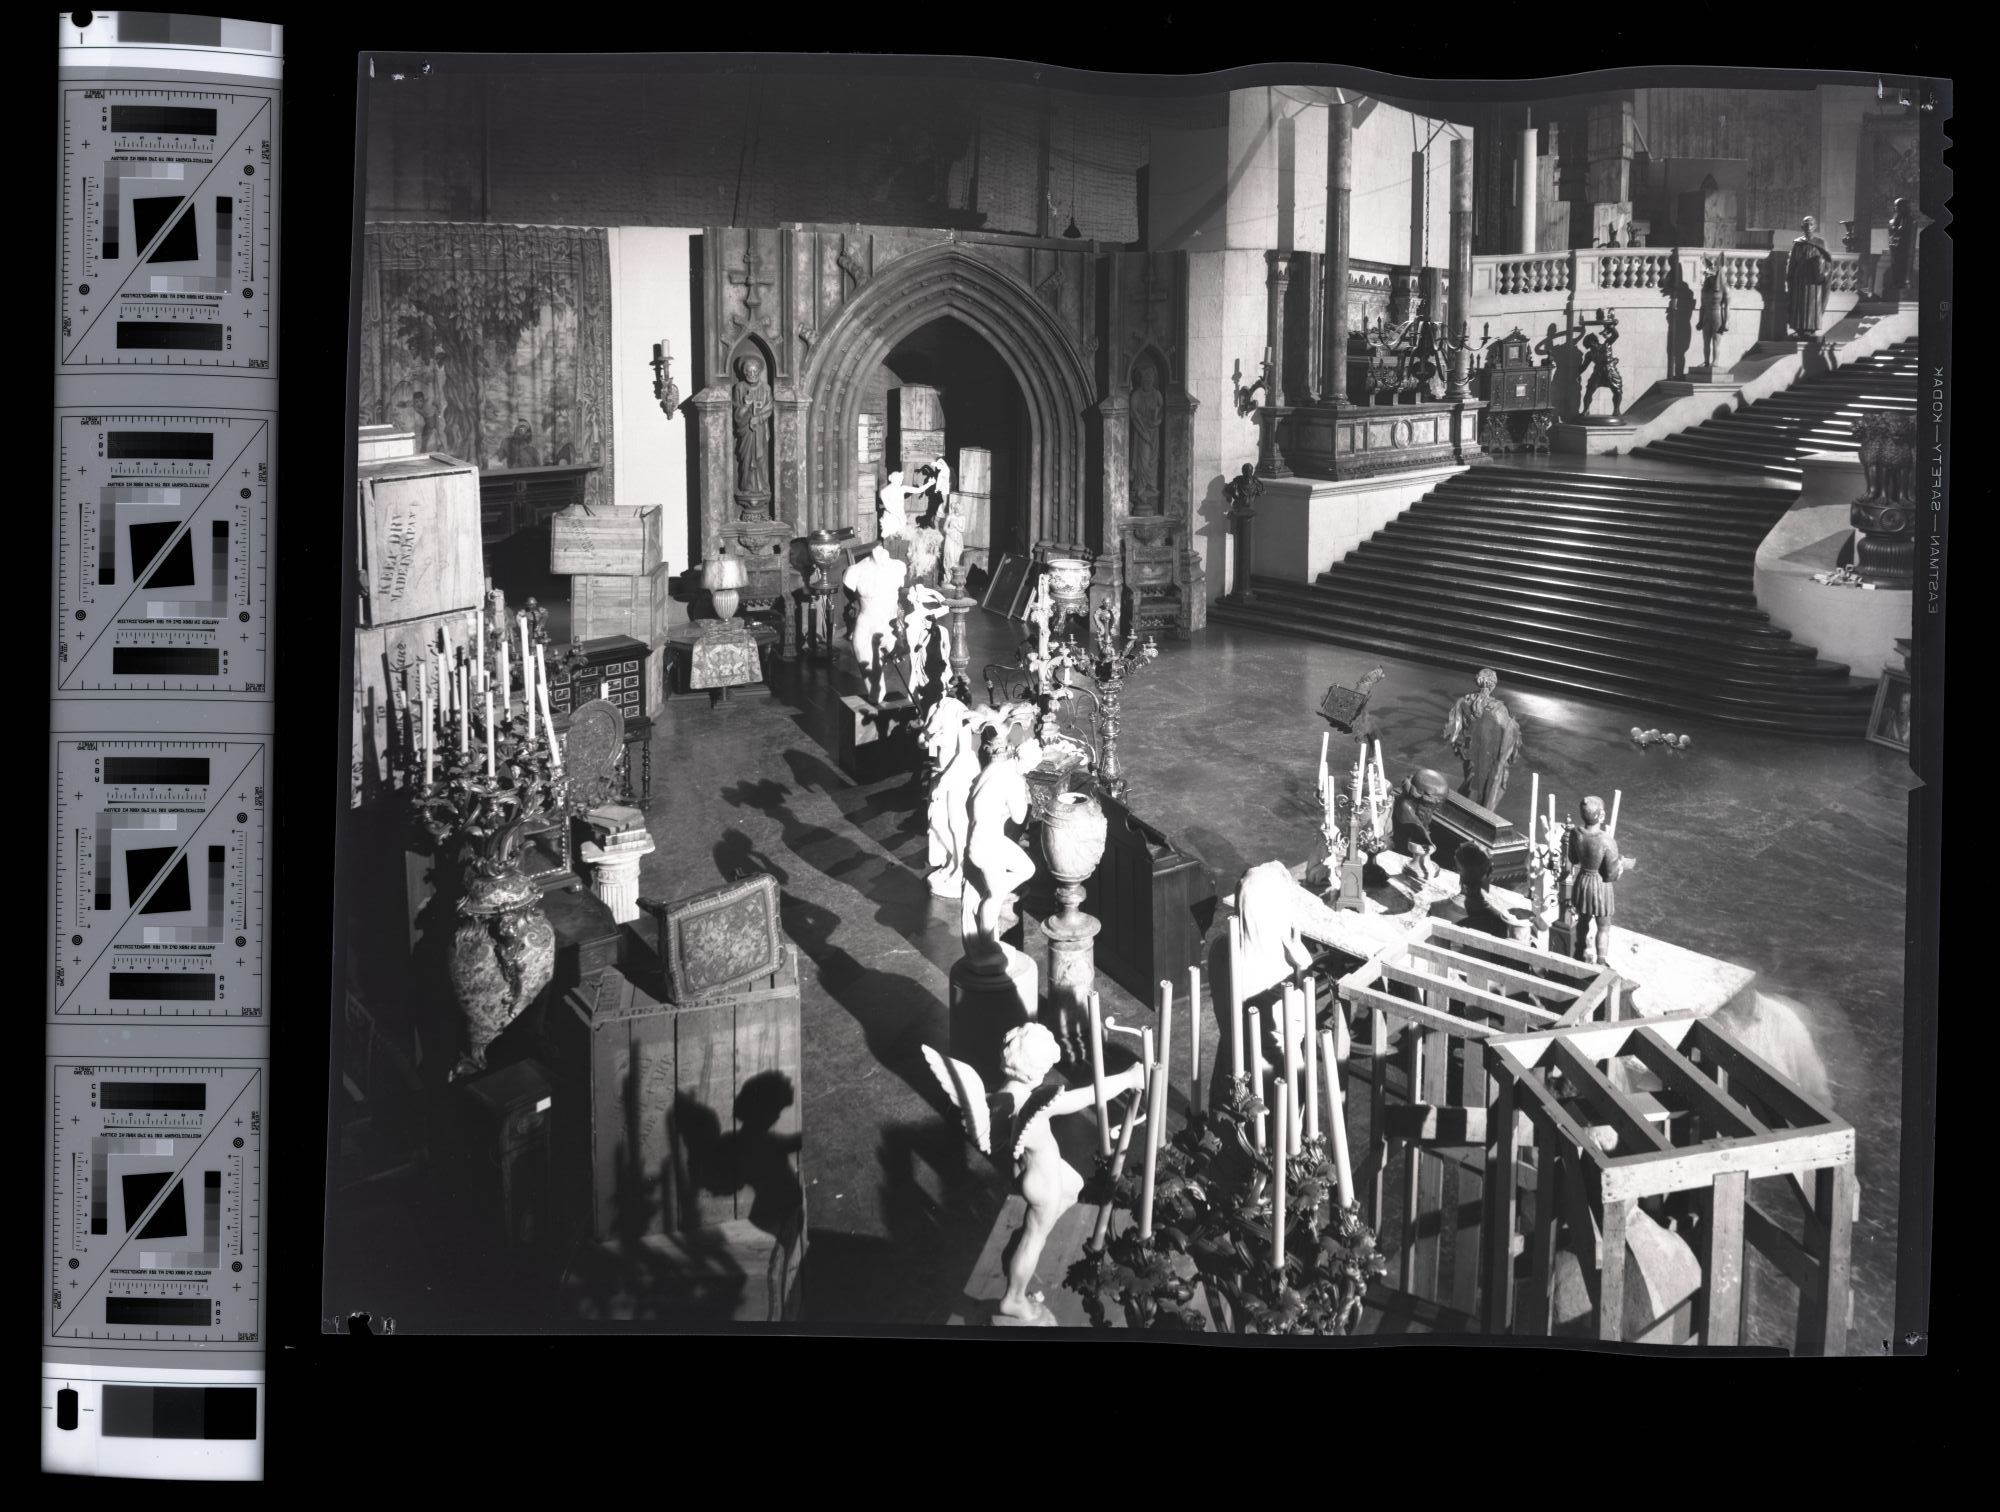
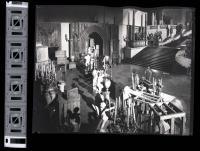
One challenge of this project is that our equipment does not perform up to the requirements detailed in the FADGI guidelines. For 4-star imaging, 8x10 prints and negatives must be scanned at 600 and 2000dpi. However, after testing our equipment using Golden Thread, we learned that our equipment cannot handle those settings. (Pictured below: Analysis of a scanned prints OECF curve showing the SFR or spacial frequency response results for the image.)

Step 4: Adjusting Images with GoldenTouch: Correcting Digitized Files
After scanning, we have processed the images through Golden Touch to de-skew and correct tonal balance of the prints.

The production masters created from Golden Touch were used to create derivatives to be used in this exhibit.
One challenge we faced was that Golden Touch does not have a target to correct tonal balance in photographic negatives. After communicating with Don Williams, we were able to obtain a target without a guarantee that it would work.
However, Golden Touch was not actually able to load the negative files due to their size. Because of this, They remain skewed and potentially unfaithful reproductions.
Step 5: Derivatives
With our production masters generated we set off to create usable derivatives for this exhibit and similar works. The images included in the exhibit are derivatives in .jpg or .png due to the file size restraints of the platform. The materials passed on to the archivist and curator of the collection are of vastly higher quality in .tiff. Access to these quality scans is restricted, but we hope you enjoy these renderings preserved in our exhibit for public viewing.
Step 6: Moving Forward
These digitized images and negatives will be returned alongside the newly organized and cataloged (with new metadata!) collection. This work will contribute to a continued deeper understanding of Welles' masterpiece Citizen Kane for scholars, film critics, and hobbyists alike. We hope that our work organizing the files will be continued by the materials curator and archivist for better preservation of the physical materials moving forward.
Check out the Collection of Continuity Stills or Some of Our Other Features: