Coding Audio and Video in NVivo
One of the strengths of NVivo involves the capability to integrate multimedia as data sources and to code from those sources (such as conducting various types of content analyses). It may help to review what these capabilities entail (and also what these do not entail).
A key point is that audio and video need text transcription / text equivalencies of their contents.
Videos hosted on external sites may be placed as embedded links into an NVivo project. Once a video is removed from the platform, though, the video will not be available in the project. (For critical videos, if downloads and transcripts are available on the platform, the videos should be downloaded as a record...but obviously should not be distributed as that would contravene intellectual property in many cases.)
The text section may be comprised of verbatim coding...for the transcript. And / or the section may be used for notetaking...and then the notes may be coded for the codebook.
The Importance of Verbatim and Enhanced Text Transcription
One common question is whether NVivo enables automated transcription of audio or video files. The tool itself does not.
As of 2022, NVivo has enabled a paid service for transcription. The tool does enable access to third-party transcribers (who will do the work for hire).
Some researchers will use the YouTube channel's automated machine transcription of uploaded videos (by uploading the videos into an unlisted channel), manually correcting the transcripts, and then downloading the transcripts for their use elsewhere.
This approach is inadvisable for sensitive videos because there is a chance of data leakage. However, for general videos, the automated transcription can offer transcripts that are currently about 60% accurate, so these can be a basis to start. The standard accepted accuracy rate for verbatim transcripts is 97% - 99%. [Recently, IBM Watson has come online for sound-to-text transcription through their API.] An "enhanced" transcript includes descriptive elements of the audio and video (and simulations) for informational equivalency.
Having a timed text transcript enables a researcher to access a particular quote or event within an audio or video for review, for coding, and for analysis of visuals (as available). (On the direct YouTube site itself, the closed captioning feature is available for access to the timed text. This feature is the small "cc" under the YouTube video player.)
Having a text version of audio and video is important for several reasons. In NVivo, queries are all text-based. That means data queries rely on accurate and complete transcription for the asking of certain questions (if the full set of data is to be included). Searches in NVivo are also based on text. (The software does not enable search through images, audio, or video. These capabilities exist in other tools and systems but require a fair amount of computational expense.)
As a small note, even if there is transcription, it helps to watch and to listen to the video and / or the audio...because there may be finer details not captured in the transcript.
Computational transcribers have particular tendencies. Human transcribers have particular tendencies. The researcher is the one who "owns" the work and so can be understood to have to invest something of themselves into the analysis...
The Zoom web conferencing tool has automated transcription as part of the service. Microsoft Teams also enables automated transcription. Some people will use those platforms to conduct focus groups and interviews and other data collection. [Very sensitive work has to be conducted on high-trust platforms.]
Transcription and / or Notetaking Work Sequencing
There are multiple ways to sequence the work of transcription and / or notetaking related to a video source. First, load the audio or video. That will cause a new tab to open called "Media". In the Play Mode area, click on the green arrow with the pen (it reads "Transcribe" when the cursor is hovered over it).
This will set up the project to enable a start time when "play" (in Playback) is pressed, and will have a stop time when "Stop" is pressed. The Play/Pause toggle, on Pause, will not result in an end time.
A natural playthrough of the audio and video, with notation (and auto-filled timed text). If a person is making notes or transcribing by playing the audio or video from start to finish, this can be done with a natural workflow.
- In the Detail View, have either the audio or video selected. Double click on it.
- This will activate a new "Media Tools" / "Media" tab in the ribbon.
- Click the blue text "Click to Edit" above the audio or video in the Detail View.
- In the Play Mode, click "Transcribe."
- In the Media tab (in the ribbon), click the Play/Pause button (it toggles between "Play" and "Pause"). Anytime the user clicks Stop, a row is created in the transcript / notes area to the right of the audio / video. The user may type in whatever he or she wants. (Each "row" is considered a "log.")
(Those who prefer keyboard shortcuts may use the following:
F4 Play/PauseF8 StopF9 Skip BackF10 Skip Forward )
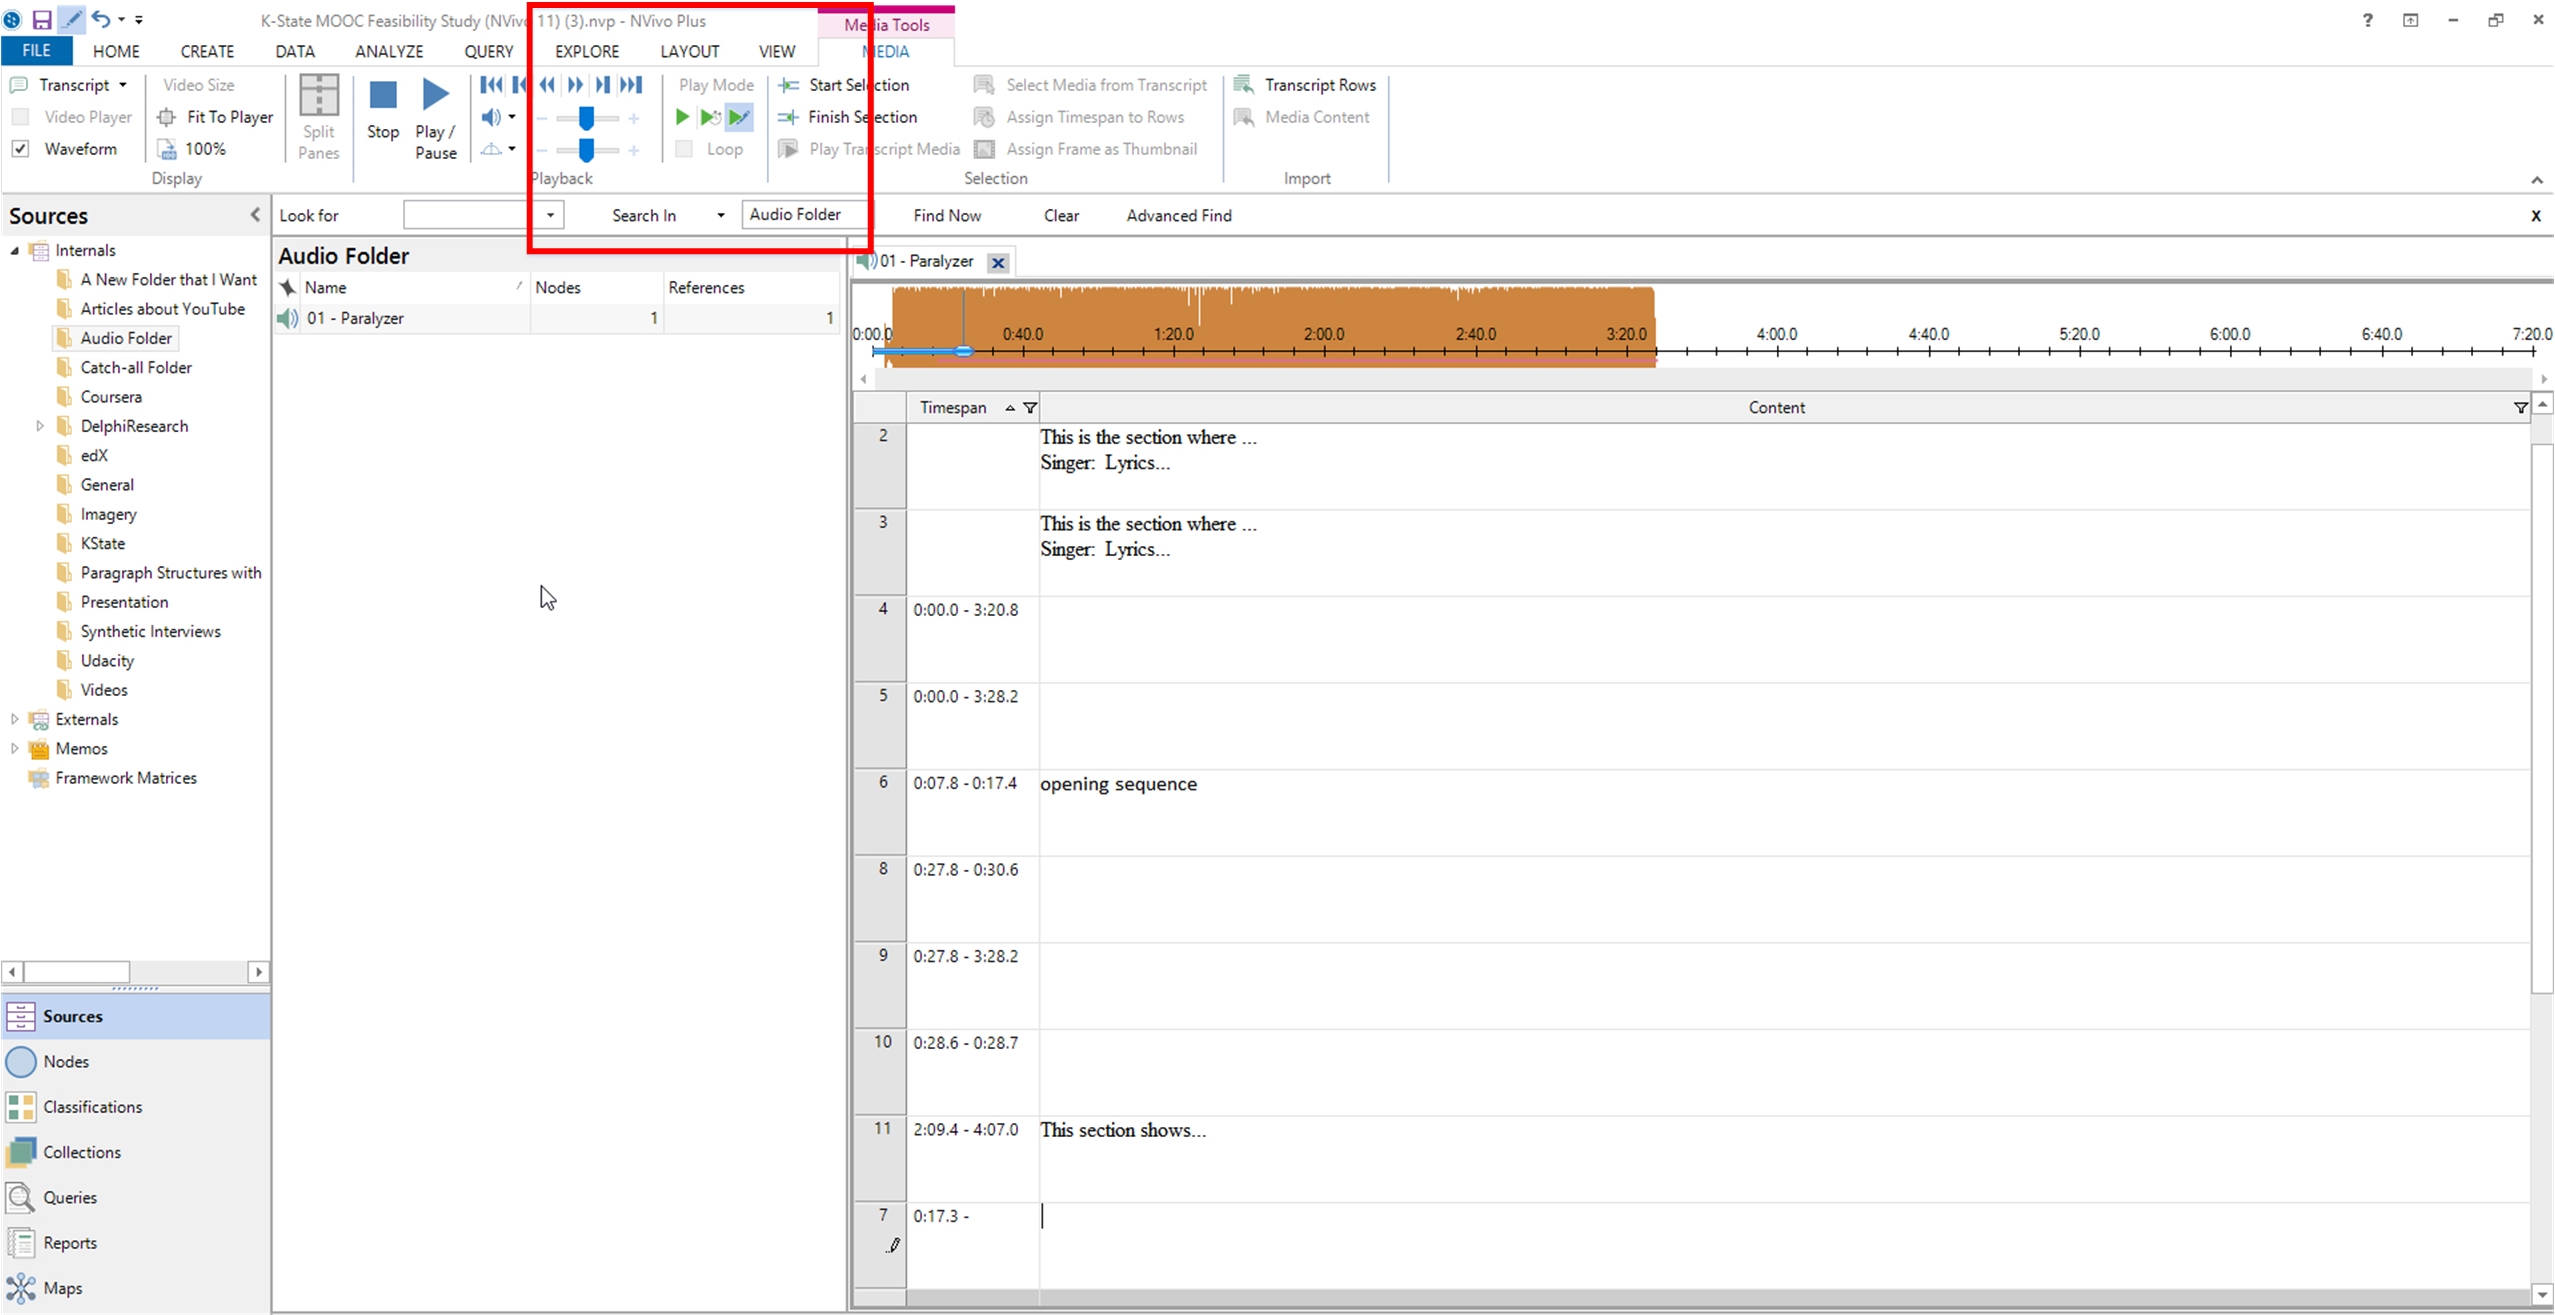
Highlighting the timeline to capture a timespan. Another option is to click on the timeline, hold down the left mouse button, and highlight a segment of the timeline, and then let go. There should be a blue outline around the selected time span. Then, click into the grayed-out row at the bottom of the transcript area. Type in any notes or transcription. Right-click the row and select "Assign Timespan to Rows."
Manual time inputs. There can also be manual time inputs. The time structure should emulate the time reflected in the waveform or video timeline: hour, minute, second, and tenths of seconds. For time accuracy, the researcher may stop or pause the playhead. Or, he or she may highlight the waveform or timeline to capture the start and stop times desired (the video visual may be seen when discrete points on the video timeline are shown). Then, those notes may be highlighted and coded to a node to in-put that information into the node coding structure.
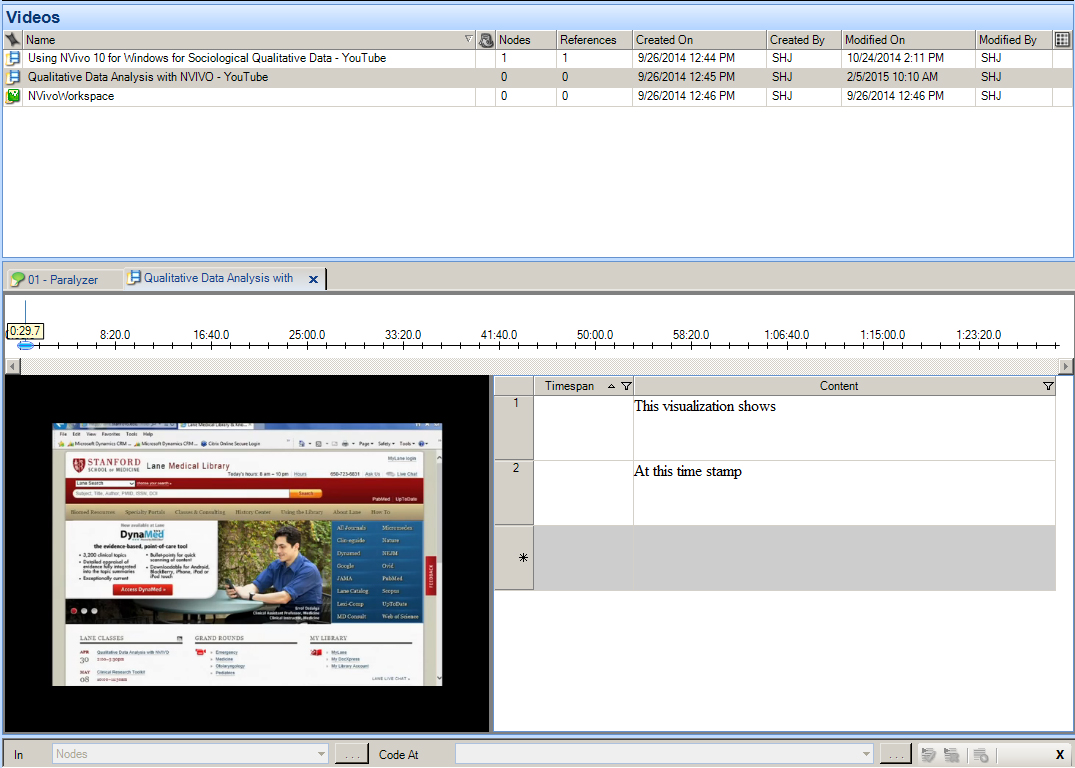
The Basic Structure for Audio and Video Coding
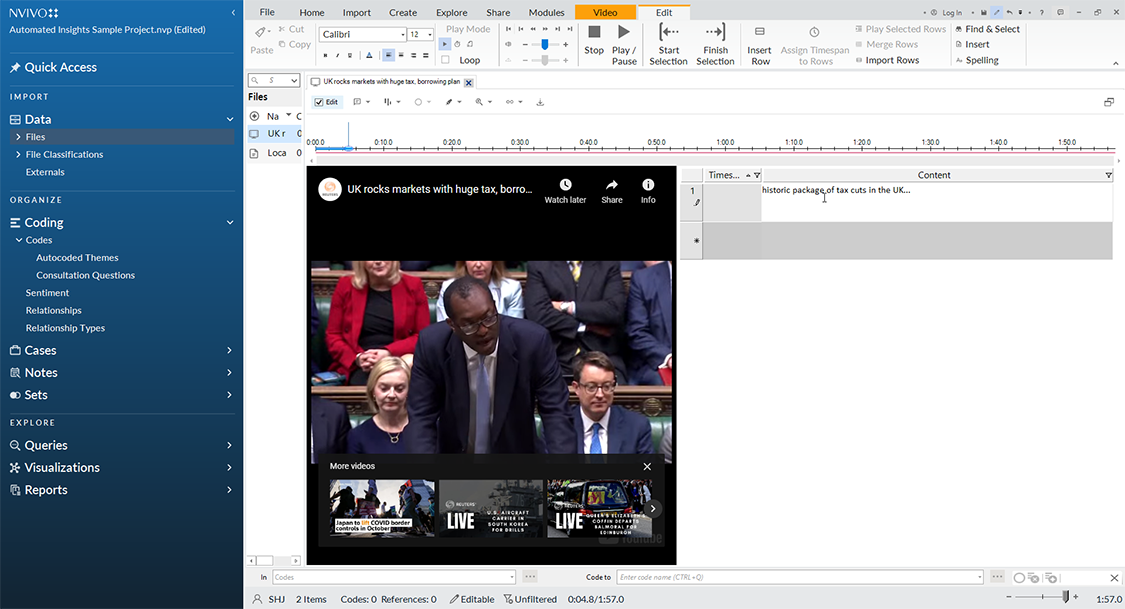
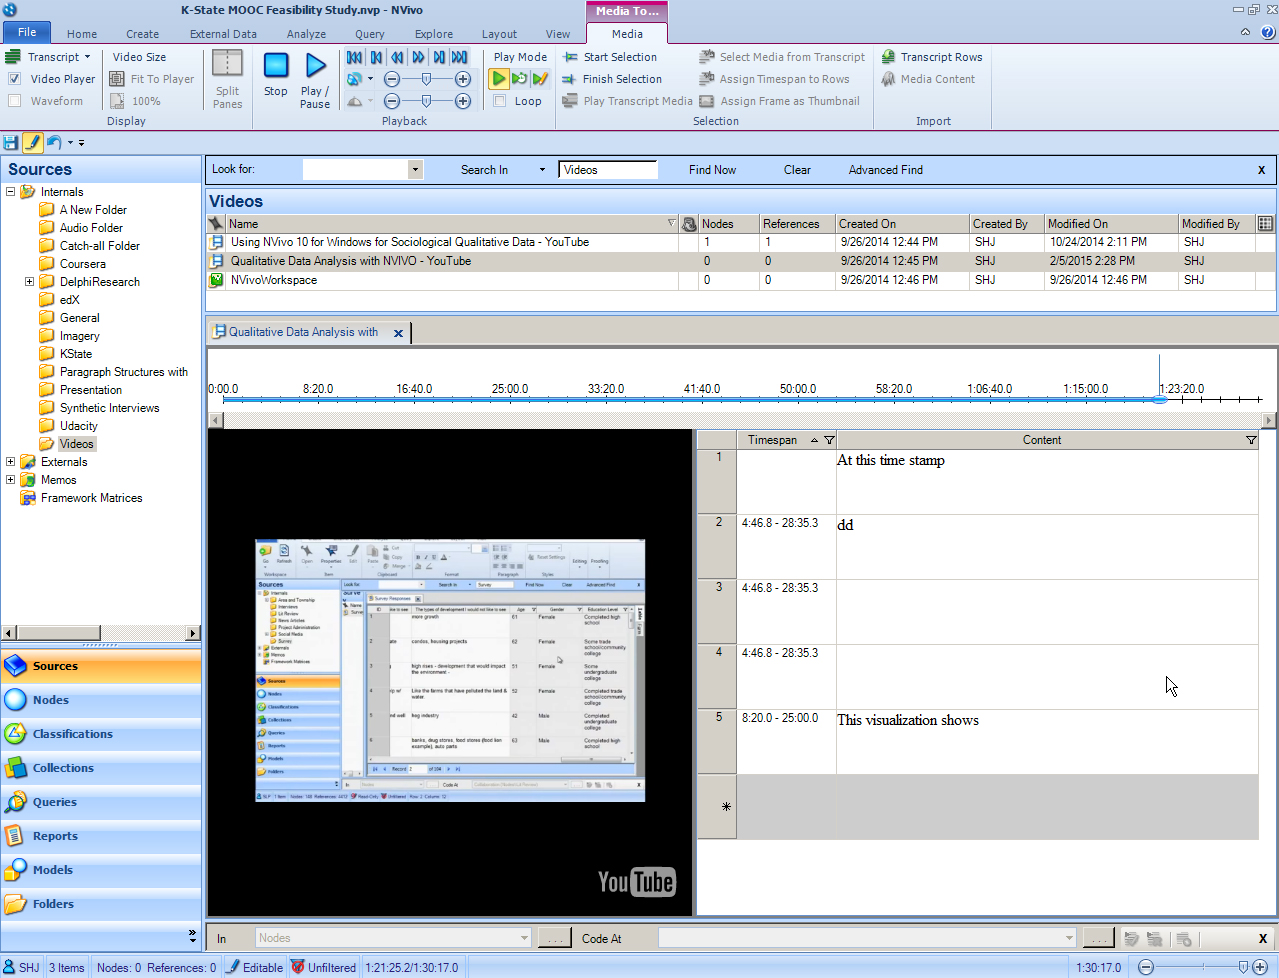
In NVivo, the coding space for audio and video consists of a running audio waveform or video timeline above, a playhead that may be placed anywhere along the waveform or timeline (just click the playhead and drag), a visual screen at the bottom left, and the coding space as "Timespan" and "Content." For the contents with time or timespan text, the text space will include the transcript and time, and any of that may be coded to the nodes in NVivo (just highlight, right-click, and code to node).
Timespan column
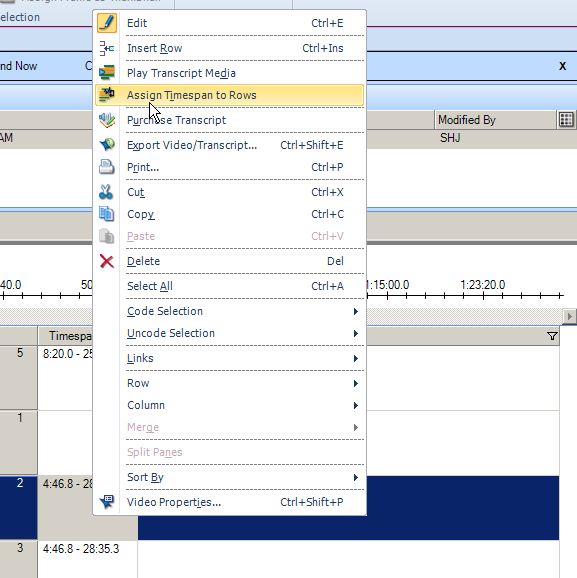
The timespan column does not automatically fill with any particular time. A user may right click into the Timespan column and "Assign Timespan to Rows."
Another approach is to record time manually based on the time information that is visible in the playhead and the related waveform or video timeline. To put information in this column, the information has to fit the hour:minute:second:sub-second structure.
Content column
Ensure that the "Click to Edit" link has been clicked when accessing the audio or video (which has been uploaded). This appears at the center of the workspace directly above the waveform or timeline.
Adding a new row in the transcripts area
Adding empty rows to the transcription space is easy. Just click in the blank white space below the most recently updated row to add another. Or right click on a row, and click "Insert Row" to add another. (Rows may be interspersed anywhere in the transcript. The inserted rows appear above the highlighted row in the transcript area.) With added rows, the time is automatically captured in the Timespan column.
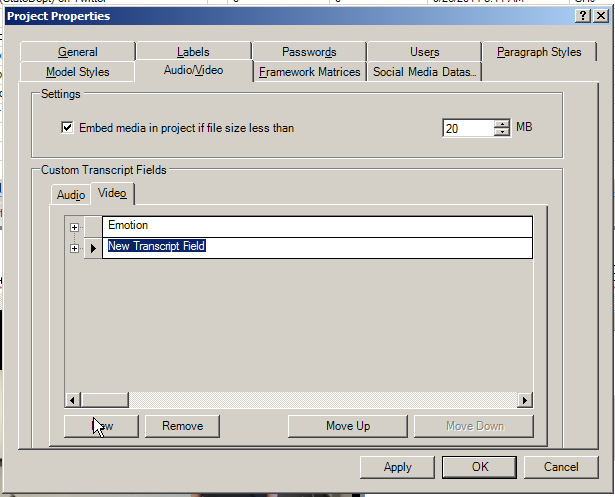
Adding a new column in the transcripts area
To add a new column, in the ribbon, go to the File tab. In the dropdown, go to Info -> Project Properties -> Audio/Video tab in the Project Properties window -> Audio or Video in the in-window sub-tab -> New button -> OK (if complete) or Apply (if there are still other columns to add).
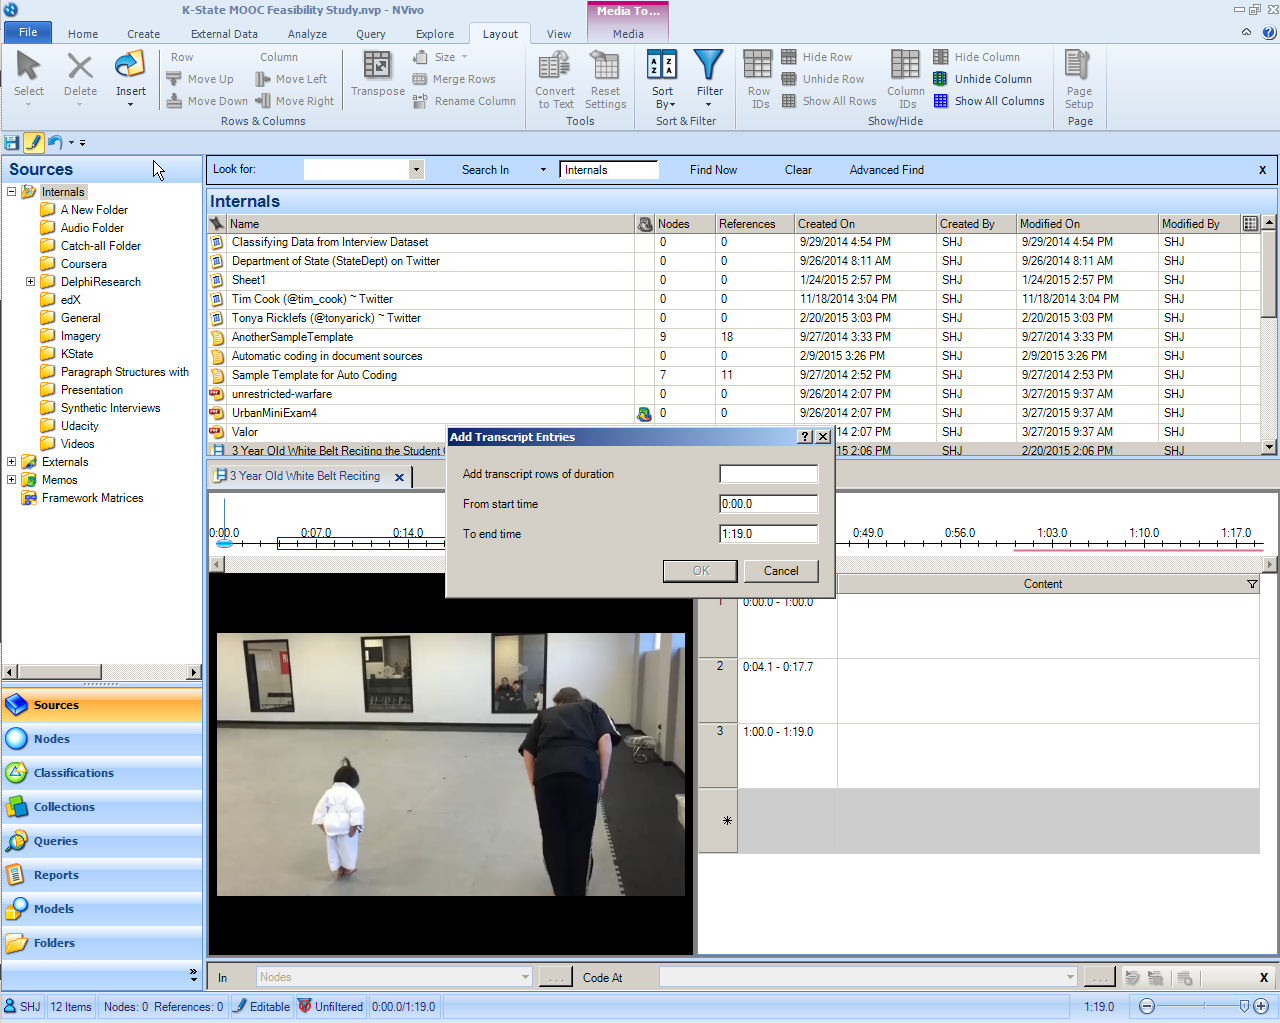
Creating regularized time interval rows for transcripting (or notetaking)
If part of the research involves regularized time segments and notations required per each segment, users may set up regularized time-based rows. To set this up, in the Detail View, make sure you are in the video view.
Click in the Transcript area in the Detail View.
In the ribbon, click in the Layout tab. click the Insert button at the left.
In the dropdown, click the "Insert Rows" at the bottom.
The "Add Transcript Entries" window will open.
The minimum time interval is apparently 1:00 or one minute. (Anything shorter returns a message: "The time interval is not valid."
Click "OK." The rows are automatically added to the transcripts area.
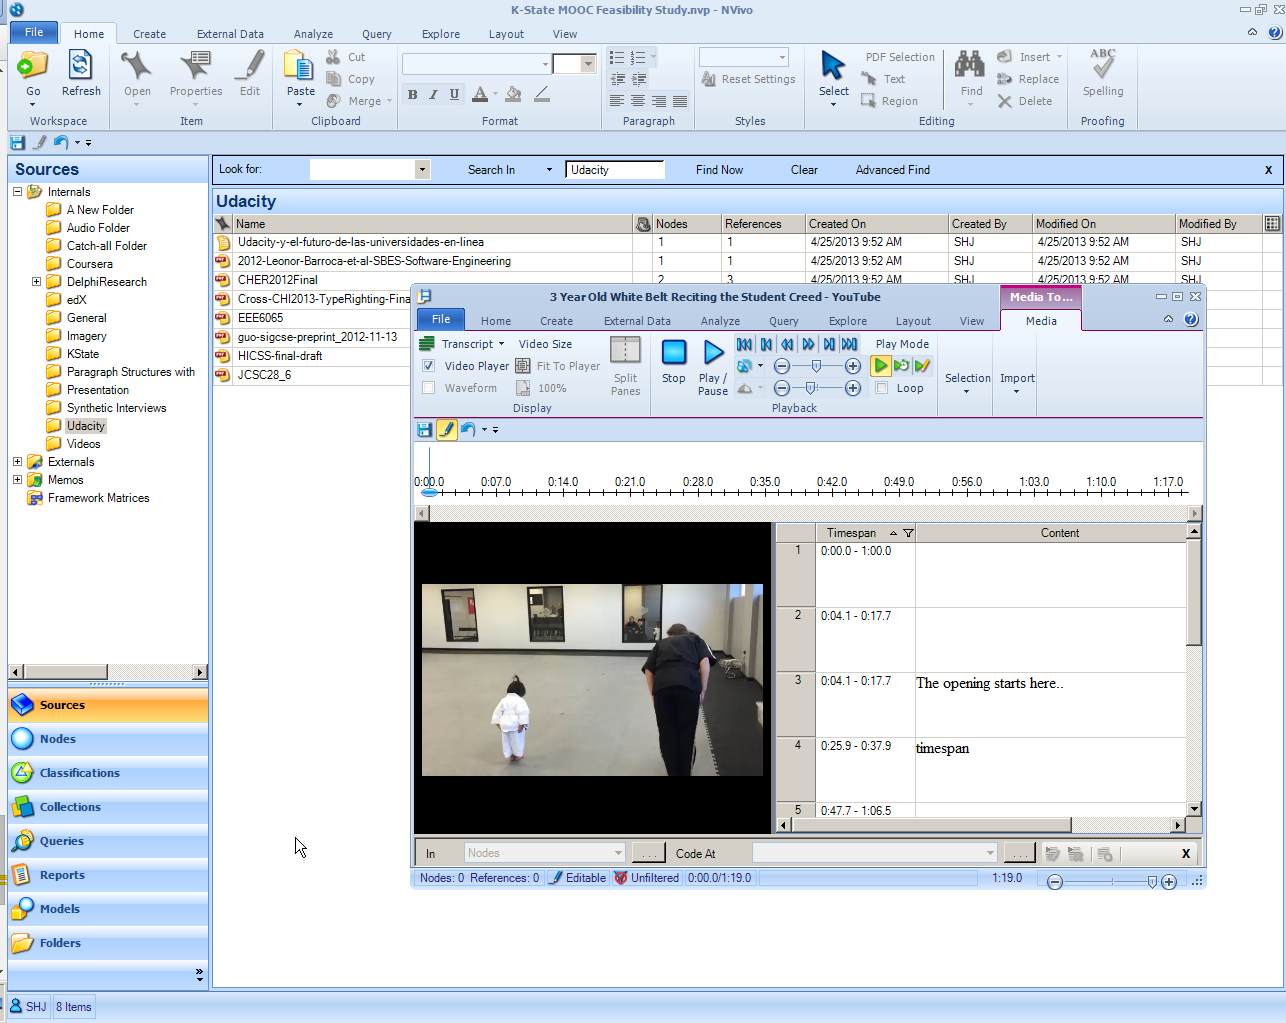
Undocking the audio / video and transcript portion
To customize the workspace, right-click on the particular audio or video file on the item bar. Select "Undock." The audio / video and transcript portion now is free-floating and may be moved anywhere in the workspace (and across multiple screens as needed).
More video data from YouTube
In terms of YouTube data, the video is included via embed code to YouTube. This means that if the original video is removed, the file itself will no longer be available in NVivo. (Some researchers prefer to download a copy of the original video from YouTube especially if it is critical to the research. This may be done through a number of freeware tools available online.)
To acquire more data about the particular video, right-click into the video space and go to "Stats for Nerds."
If there is interest in the Flash video player used, right-click in the video space and go to the "Global Settings". The "Flash Player Settings Manager" will appear.
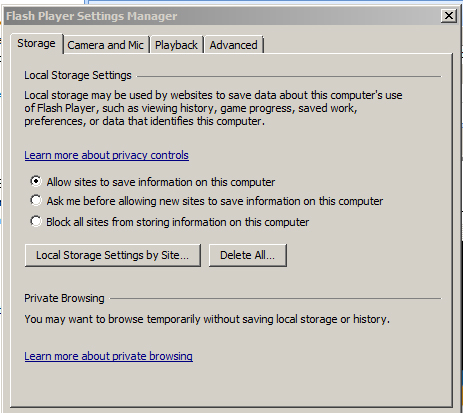
Transcript exporting
A transcript may be exported from NVivo. Just right-click on the transcript.
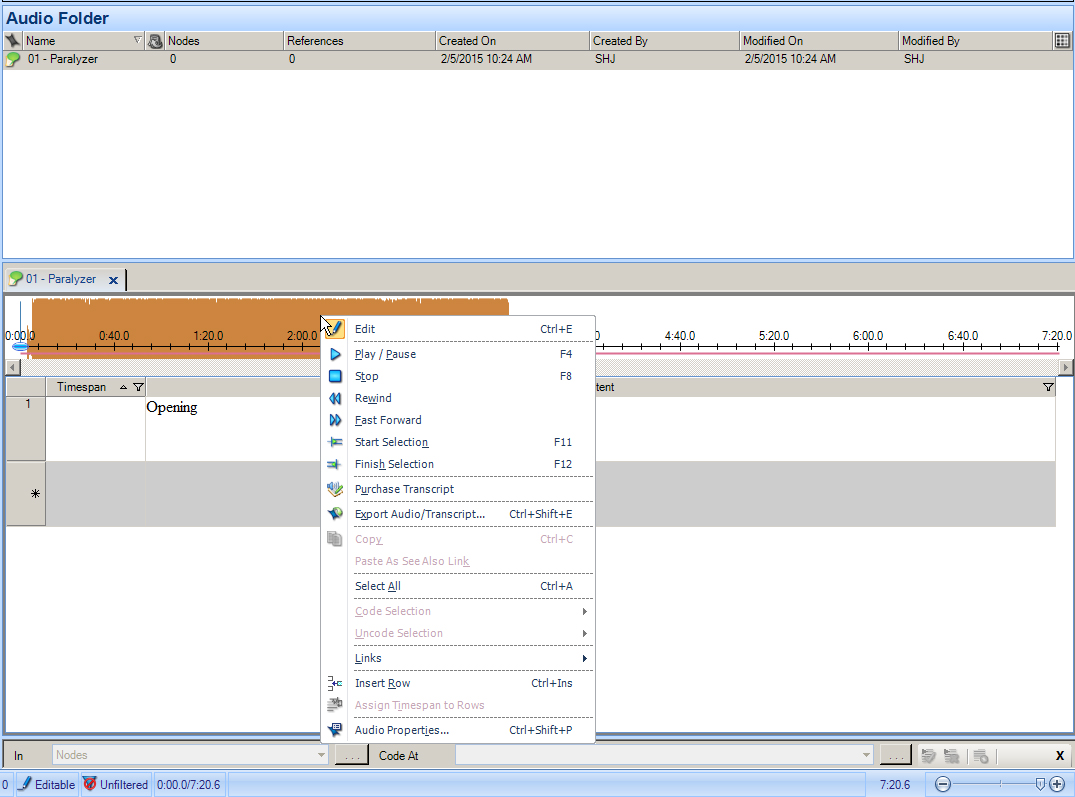
The "Export Options" window will open and offer a walk-through of the transcript exporting.
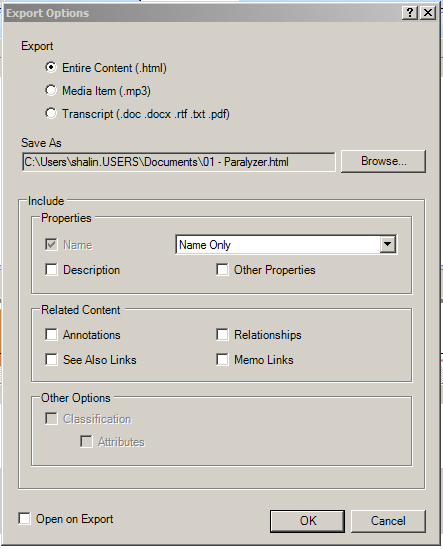
File properties
To get a sense of the file properties, right click on the video in the List View. Go to Video Properties.
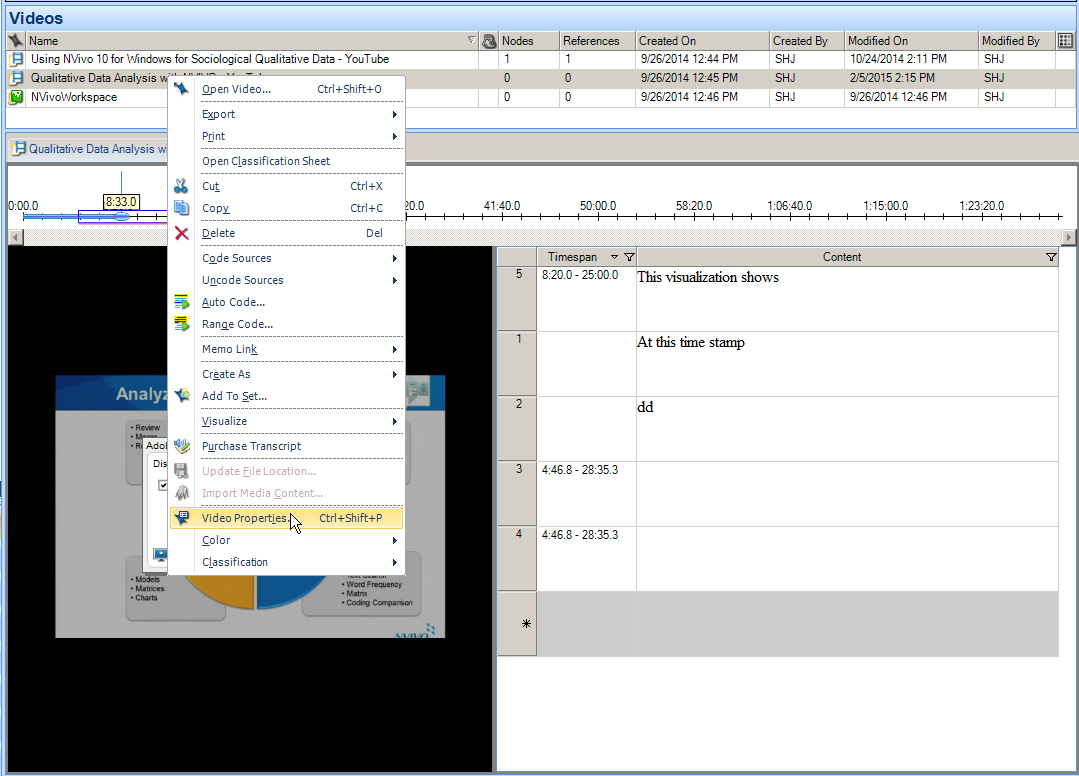
This may also be done with audio properties. Right click on the audio file in the List View. The Audio Properties window will open, with general information, audio information, and attribute values.
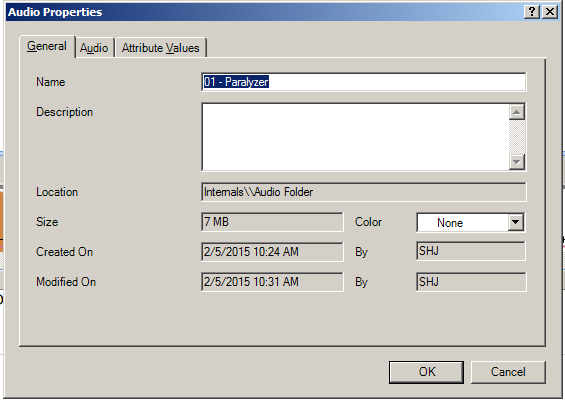
Verbatim Transcription is *Not* Coding
Transcribing an audio or video file does not enter the text or characters into the coding (nodes). To do that, the text has to be highlighted and then coded to a node.
The transcripts, though, can be included in word frequency count queries, text search queries, and so on. In the original audio or video formats, those are not included in the character-based queries.
Also, a part of the waveform or timeline may be highlighted, and that area may be dragged to a node. When that node is accessed, there will be a link to the audio or video, for an integration of that audio or video segment available for review. For more on "Basic coding in audio and video sources," please visit the prior link.
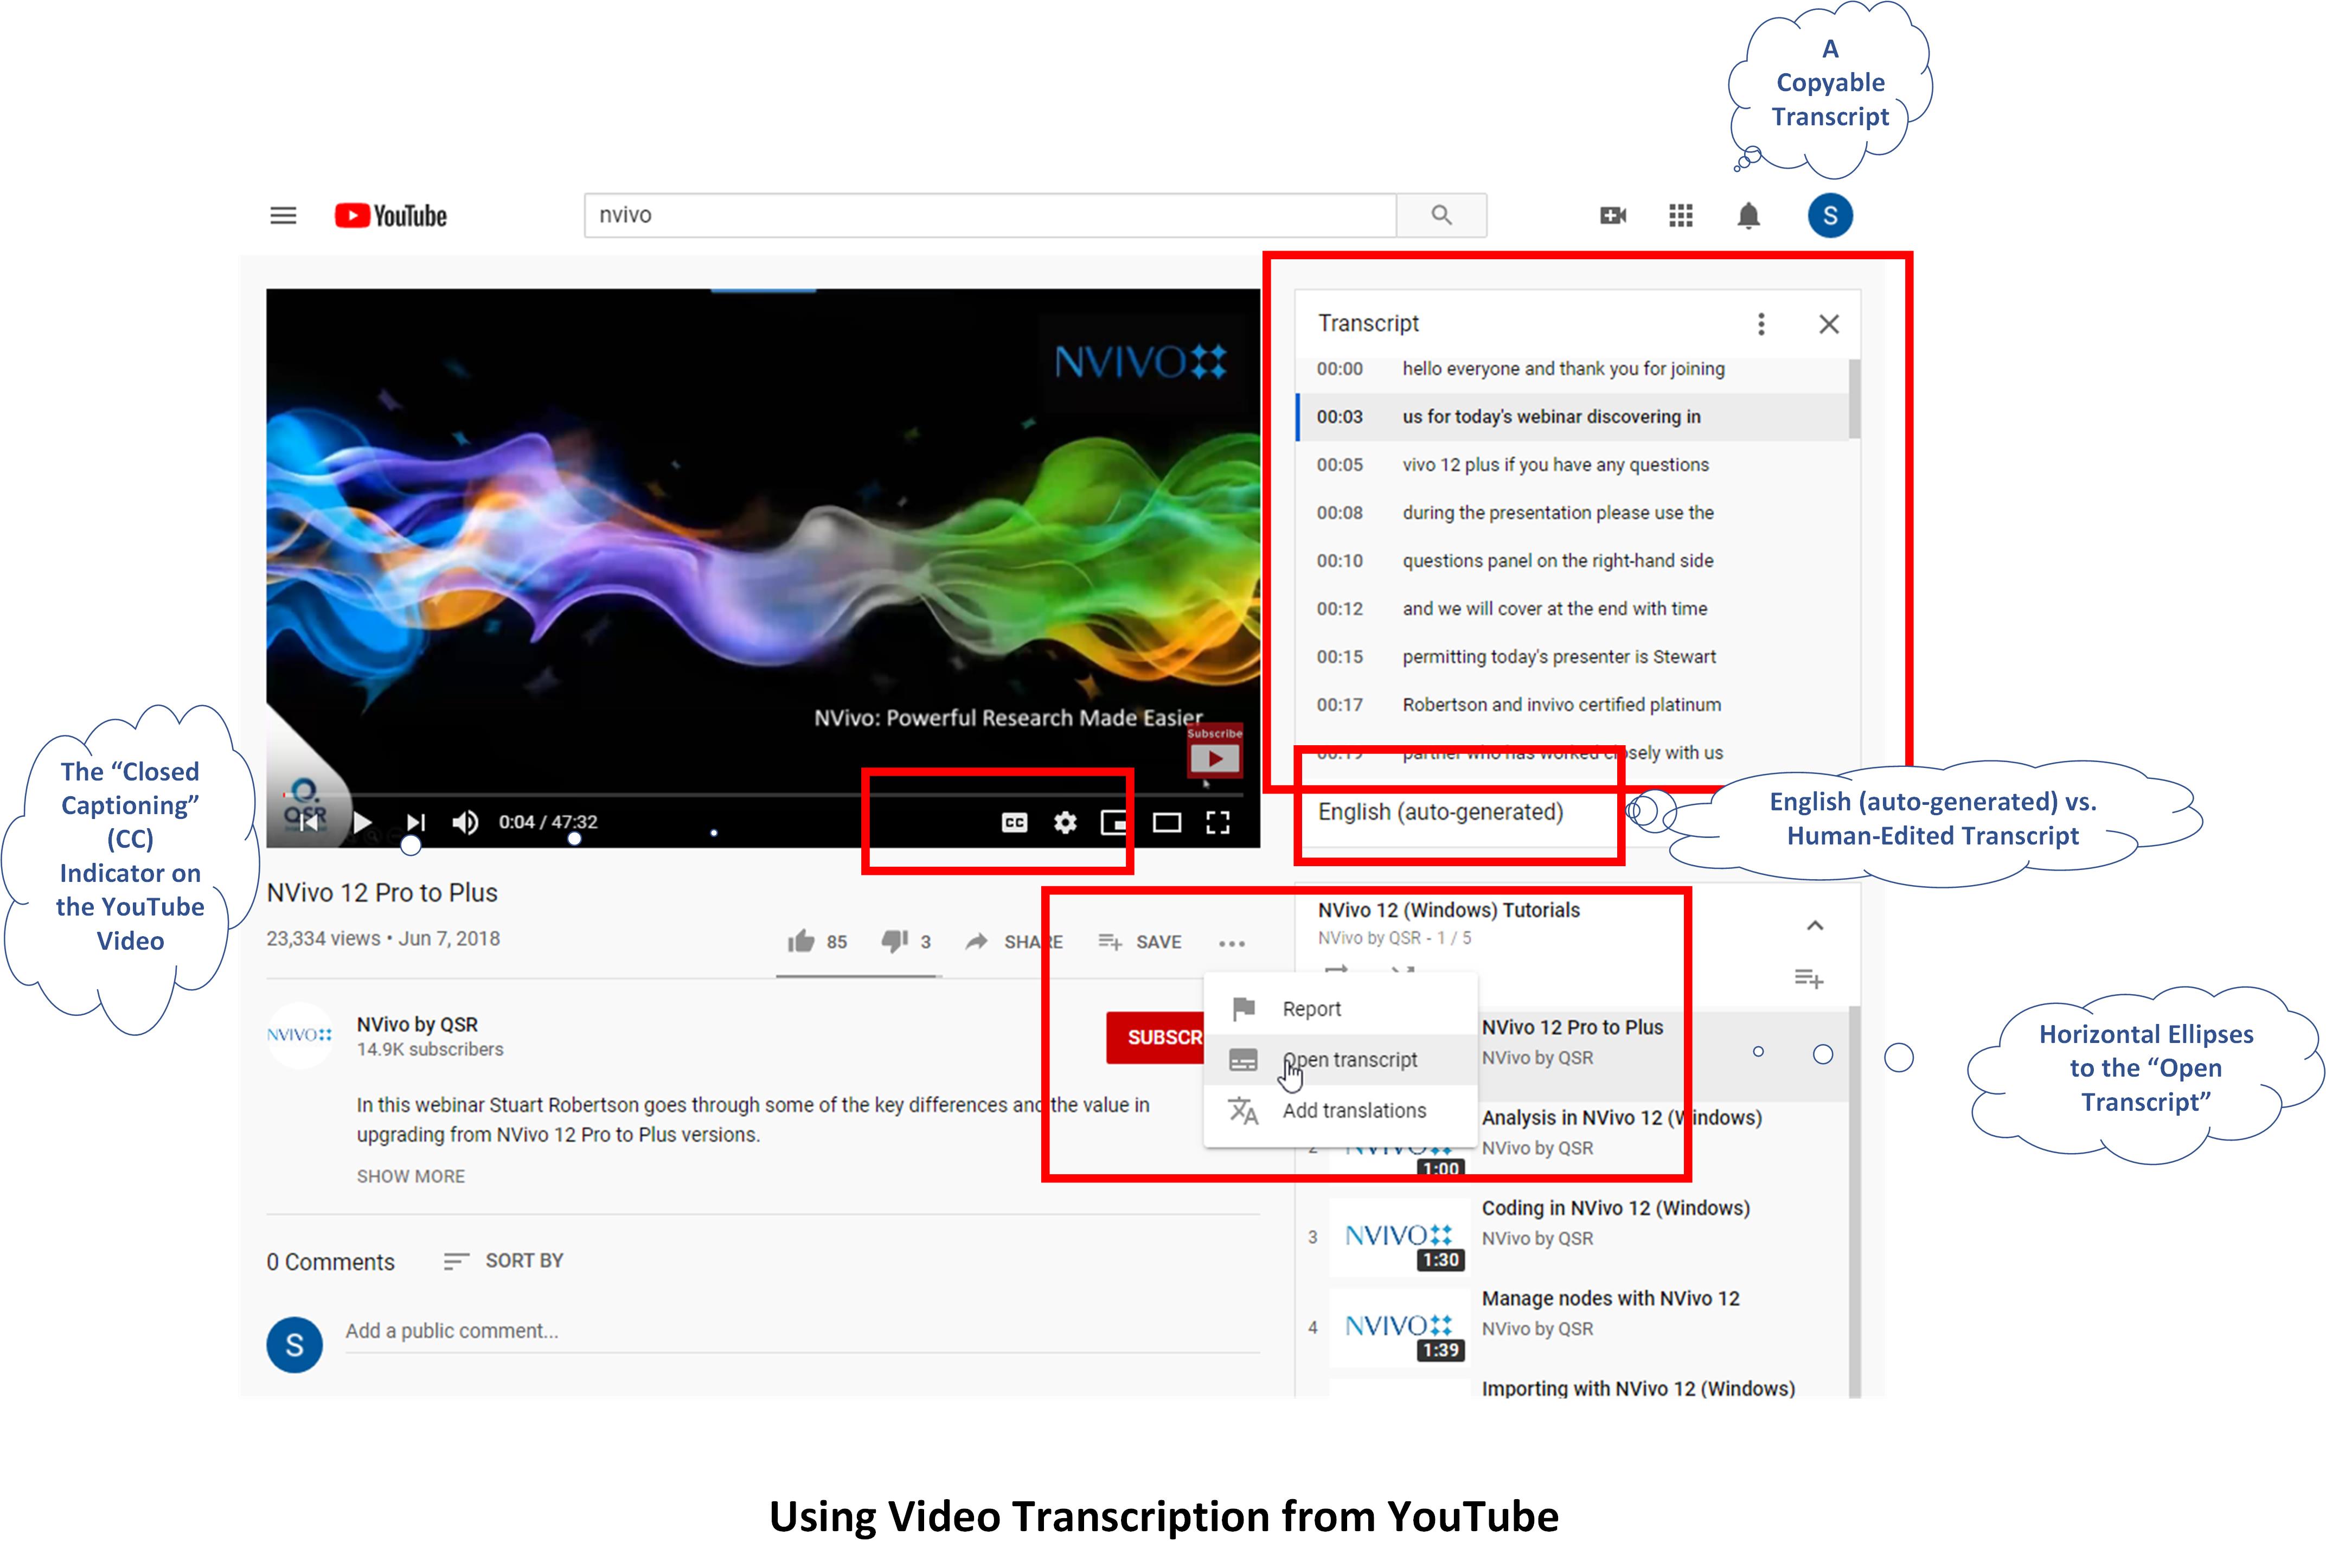
Using Video Transcription from YouTube
There are ways to capture transcripts from others' videos hosted on YouTube based on settings of the content owners.
It is possible to use extant video transcription from YouTube if the owners of the video have turned on the Closed Captioning (cc) capability. They can either go with the automated voice-to-text recognition in Google's YouTube, or they may have edited the transcript for increased accuracy and transcript enrichment (such as capturing additional information beyond what was spoken audibly).
- To access the video transcript, first, ensure that the closed captioning (cc) indicator is present.
- Then, go to the horizontal ellipses at the bottom right of the video, and select "Open transcript."
- At the right of the video will be the entire transcript.
- Highlight the entire contents, and copy.
- Paste the transcript into a Word file or a .txt file.
- Import the file into NVivo.
- Code from there.
The time stamps will be included in the transcript. The video (link) may be uploaded into the NVivo project using NCapture.
(Note that this is the human-readable transcript. The .srt file that is time-coded to the video and is machine-readable is not downloadable from the public side...but only the internal side of YouTube for one's own videos.)
Note: The latest NVivo also enables some access to commercial transcription services.
Discussion of "Coding Audio and Video in NVivo"
Add your voice to this discussion.
Checking your signed in status ...