Creating Social-Ready Graphics on the iPad or Web with Adobe Spark Post
By Mary L. Hammel, College of Education, Kansas State University
Designing by and for the masses has become a little easier with an abundance of new online and mobile apps that enable anyone to create graphics from scratch or by "remixing" from supplied design templates. Adobe Spark Post is one of these free and popular design solutions that require no design experience. Spark Post, available as a free web or mobile app, is part of a family of integrated apps by Adobe called Adobe Spark.
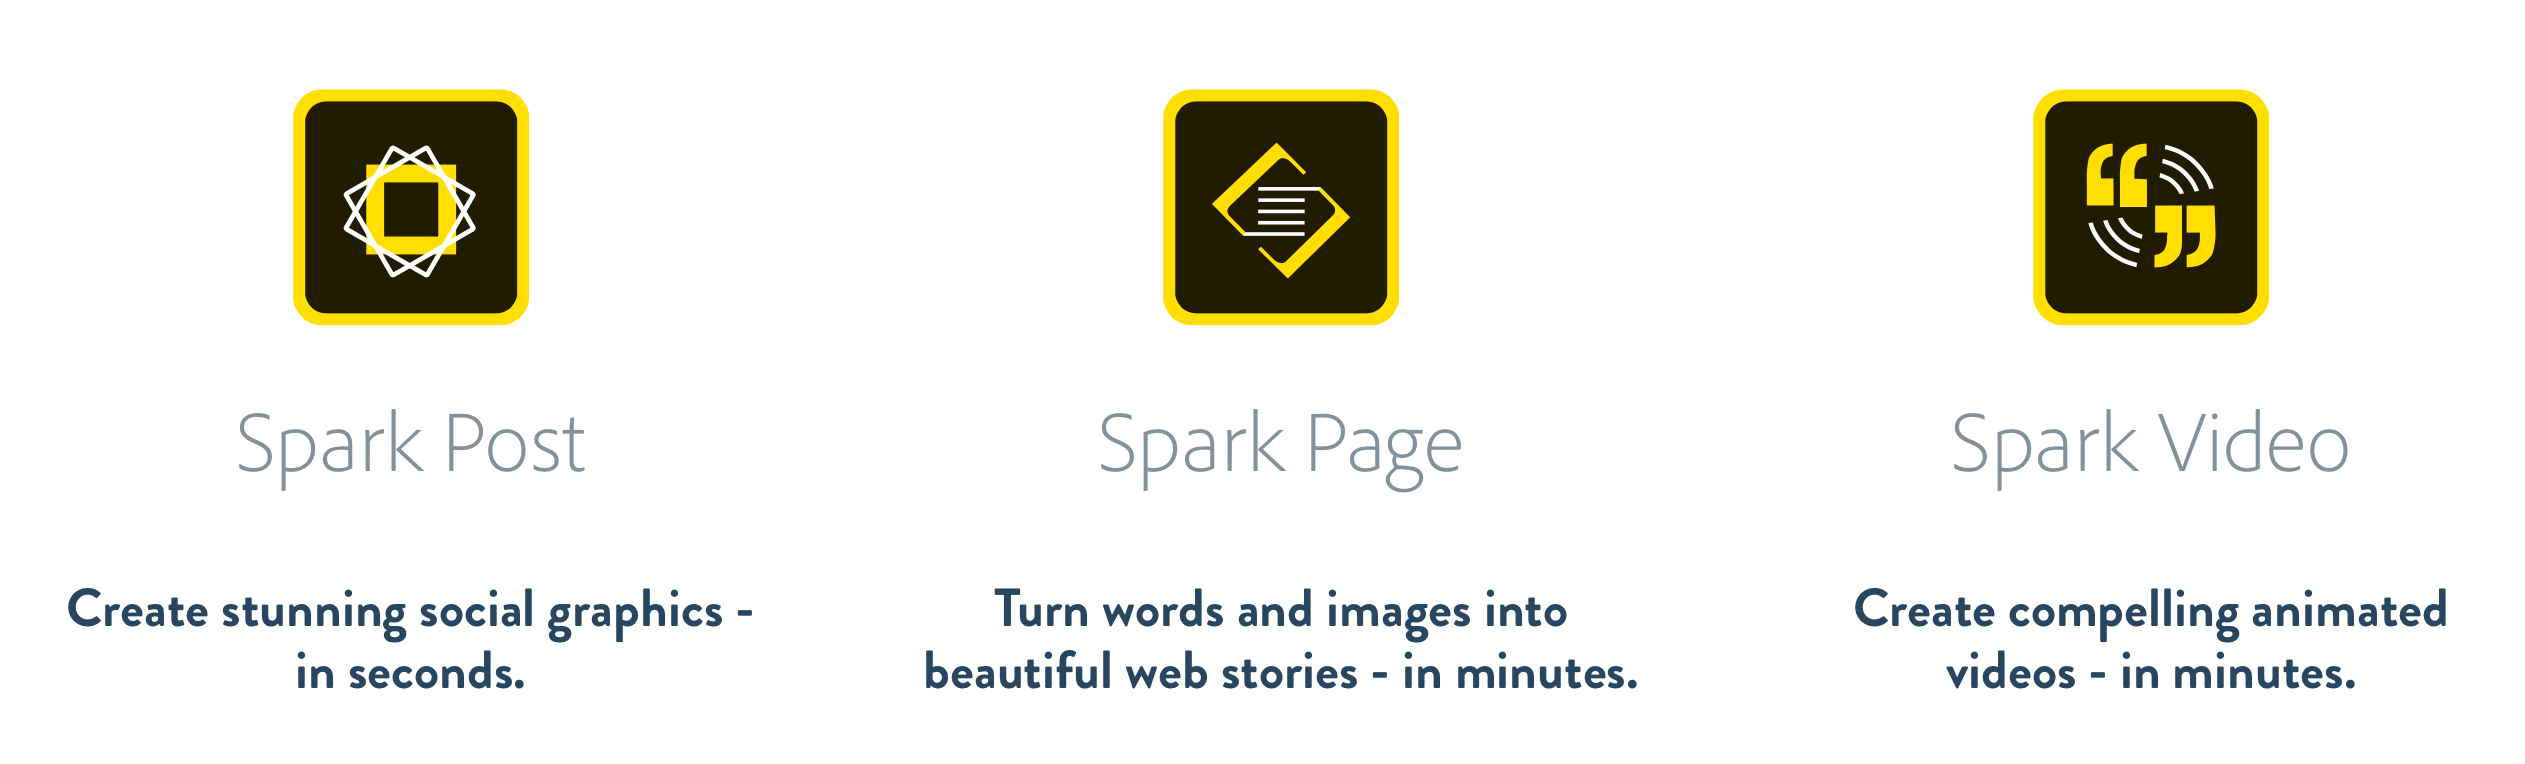
Figure 1: Adobe Spark
The Adobe Spark apps are for creating and sharing visual stories – Spark Post, for creation of social graphics; Spark Page, for creation of web-based stories; and Spark Video, for creation of animated narrated videos. (In a previous article, I discussed the storytelling aspect of Adobe Slate, which is now called Adobe Spark Page.) The three apps can be combined somewhat: you can create a Post to use in a Page or Video, or create a Page or Video and use a Post to inform others about it.
Adobe Spark requires a free Adobe account and login, necessary for the ability to sync between and edit on all of your devices. The mobile version is strictly iOS at this point. The web-based version can be used on any desktop web browser on a Mac, PC or Chromebook. The web version is an integrated app, letting you create any of the three Spark formats, but the mobile version is available as three separate apps. Both web and mobile versions work the same way. For purposes of this article, I will be referring to the iPad app version.
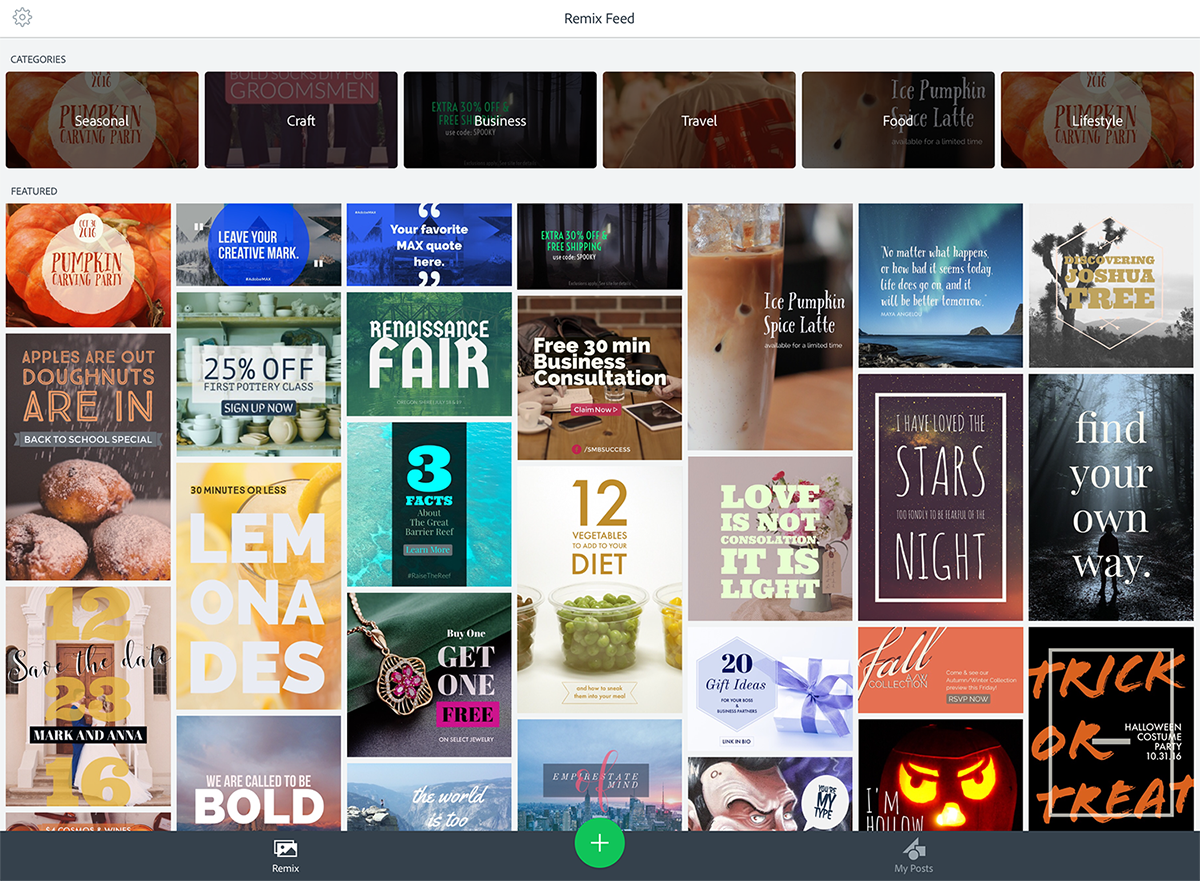
Figure 2: Adobe Spark Post Home Screen
Getting Started
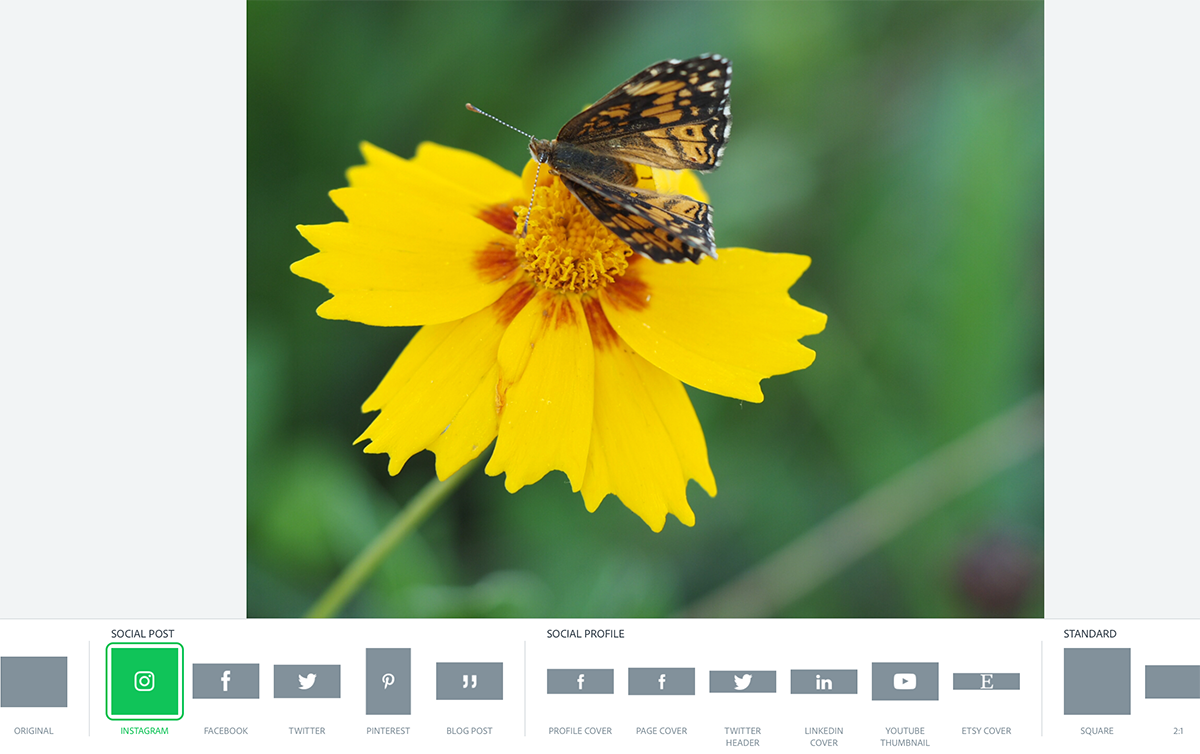
The Spark Post iPad app gets you started by browsing a large variety of created content that that you can “remix” to suit your own needs. You select a graphic, tap the Remix button, and tools appear for you to transform the graphic into your own content. Three buttons are arranged at the top of the screen. The Resize button lets you choose your graphic’s intent. Options here include social posts for Instagram, Facebook, Twitter, Pinterest, blog posts, social profile headers, and various other sizes for making invitations, fliers, etc.
Figure 3: Resize Options
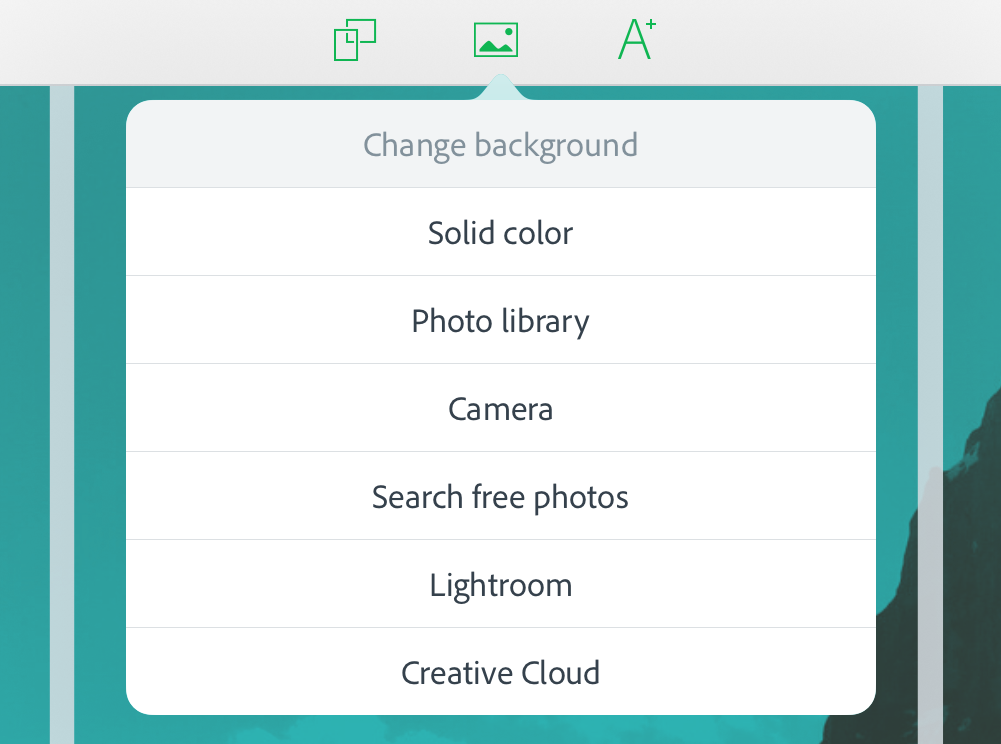
After you have selected the intent/size for your graphic, you can select the Background button to choose a background color or select something from your device’s Photo Library, take a photo with the device’s Camera, search for free photos for public domain images, or select something from the Adobe Lightroom or Creative Cloud apps if you have a paid Adobe account.
Figure 4: Background Options
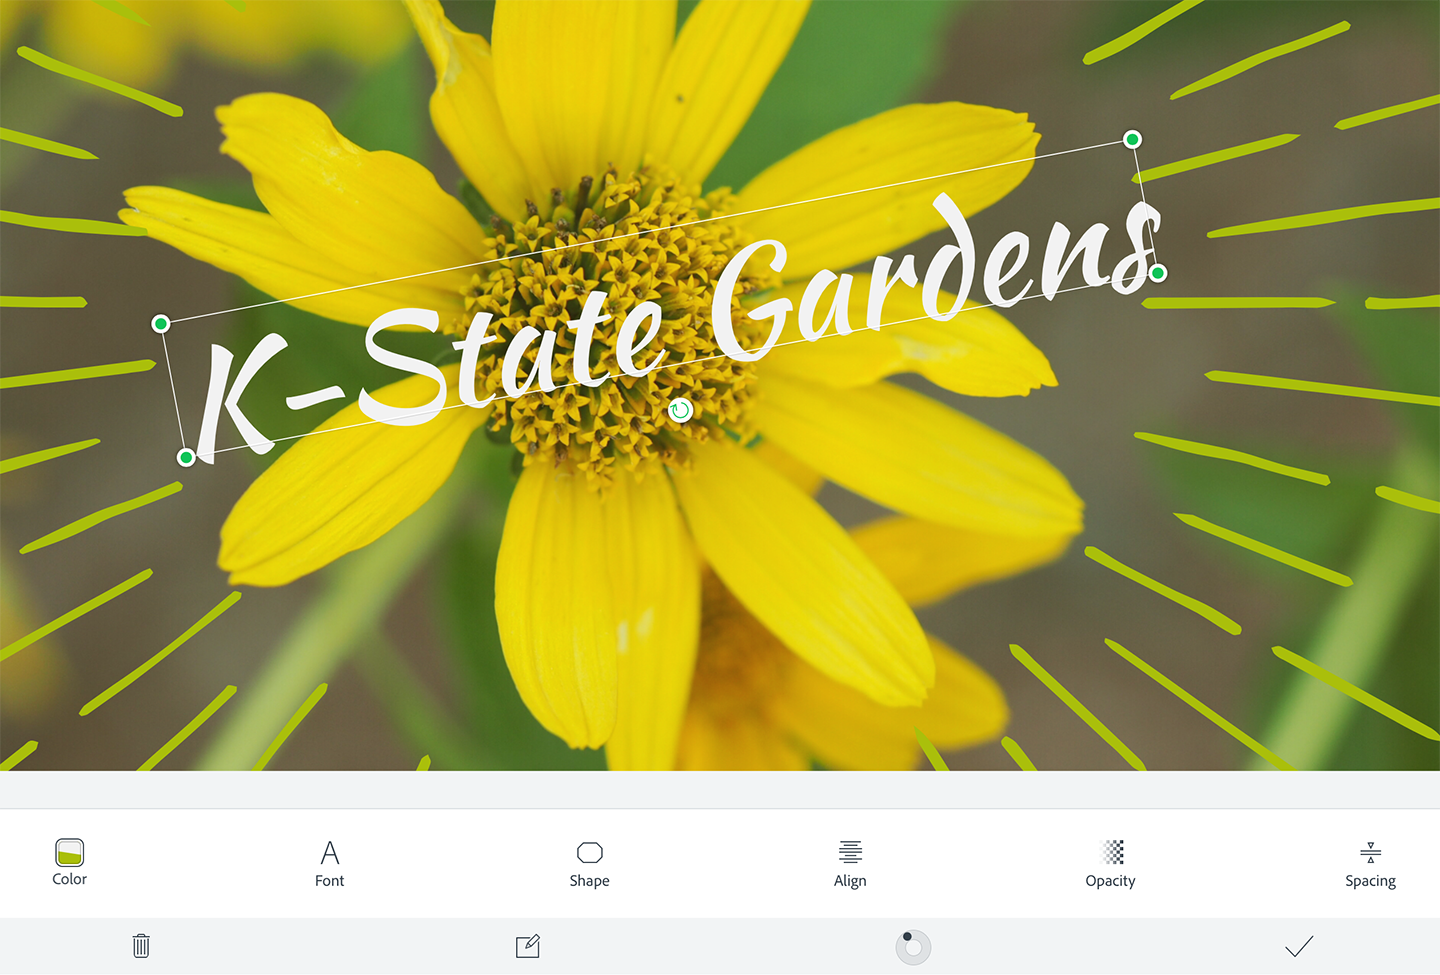
The next step is to add either a new text box or to change the text from the “remix” that you chose. Tap the text on the screen to see another menu of options for styling the text color, font, text box shape, alignment, opacity and spacing. When you are done editing, tap away from the text box to return to the original edit menu screen.
Figure 5: Text Styling Options
At the bottom of the screen are four edit buttons. The Theme button gives you access to a variety of themes that you can play with. At the right and left of the choice bar are an X and a checkmark for choosing or not choosing a selection. The Palette button has many color palette choices that you can tap and rotate through to see what your design and text will look like in other colors. The Photo button has a few photo filter choices to add to your background image. The final choice, the Animate button, lets you add an animation type to your image to give it motion. The choices here are fade, slide, grow, zoom, pan, grey, focus, color, and fill.
Figure 6: Image Enhancement Options
Ready to Share
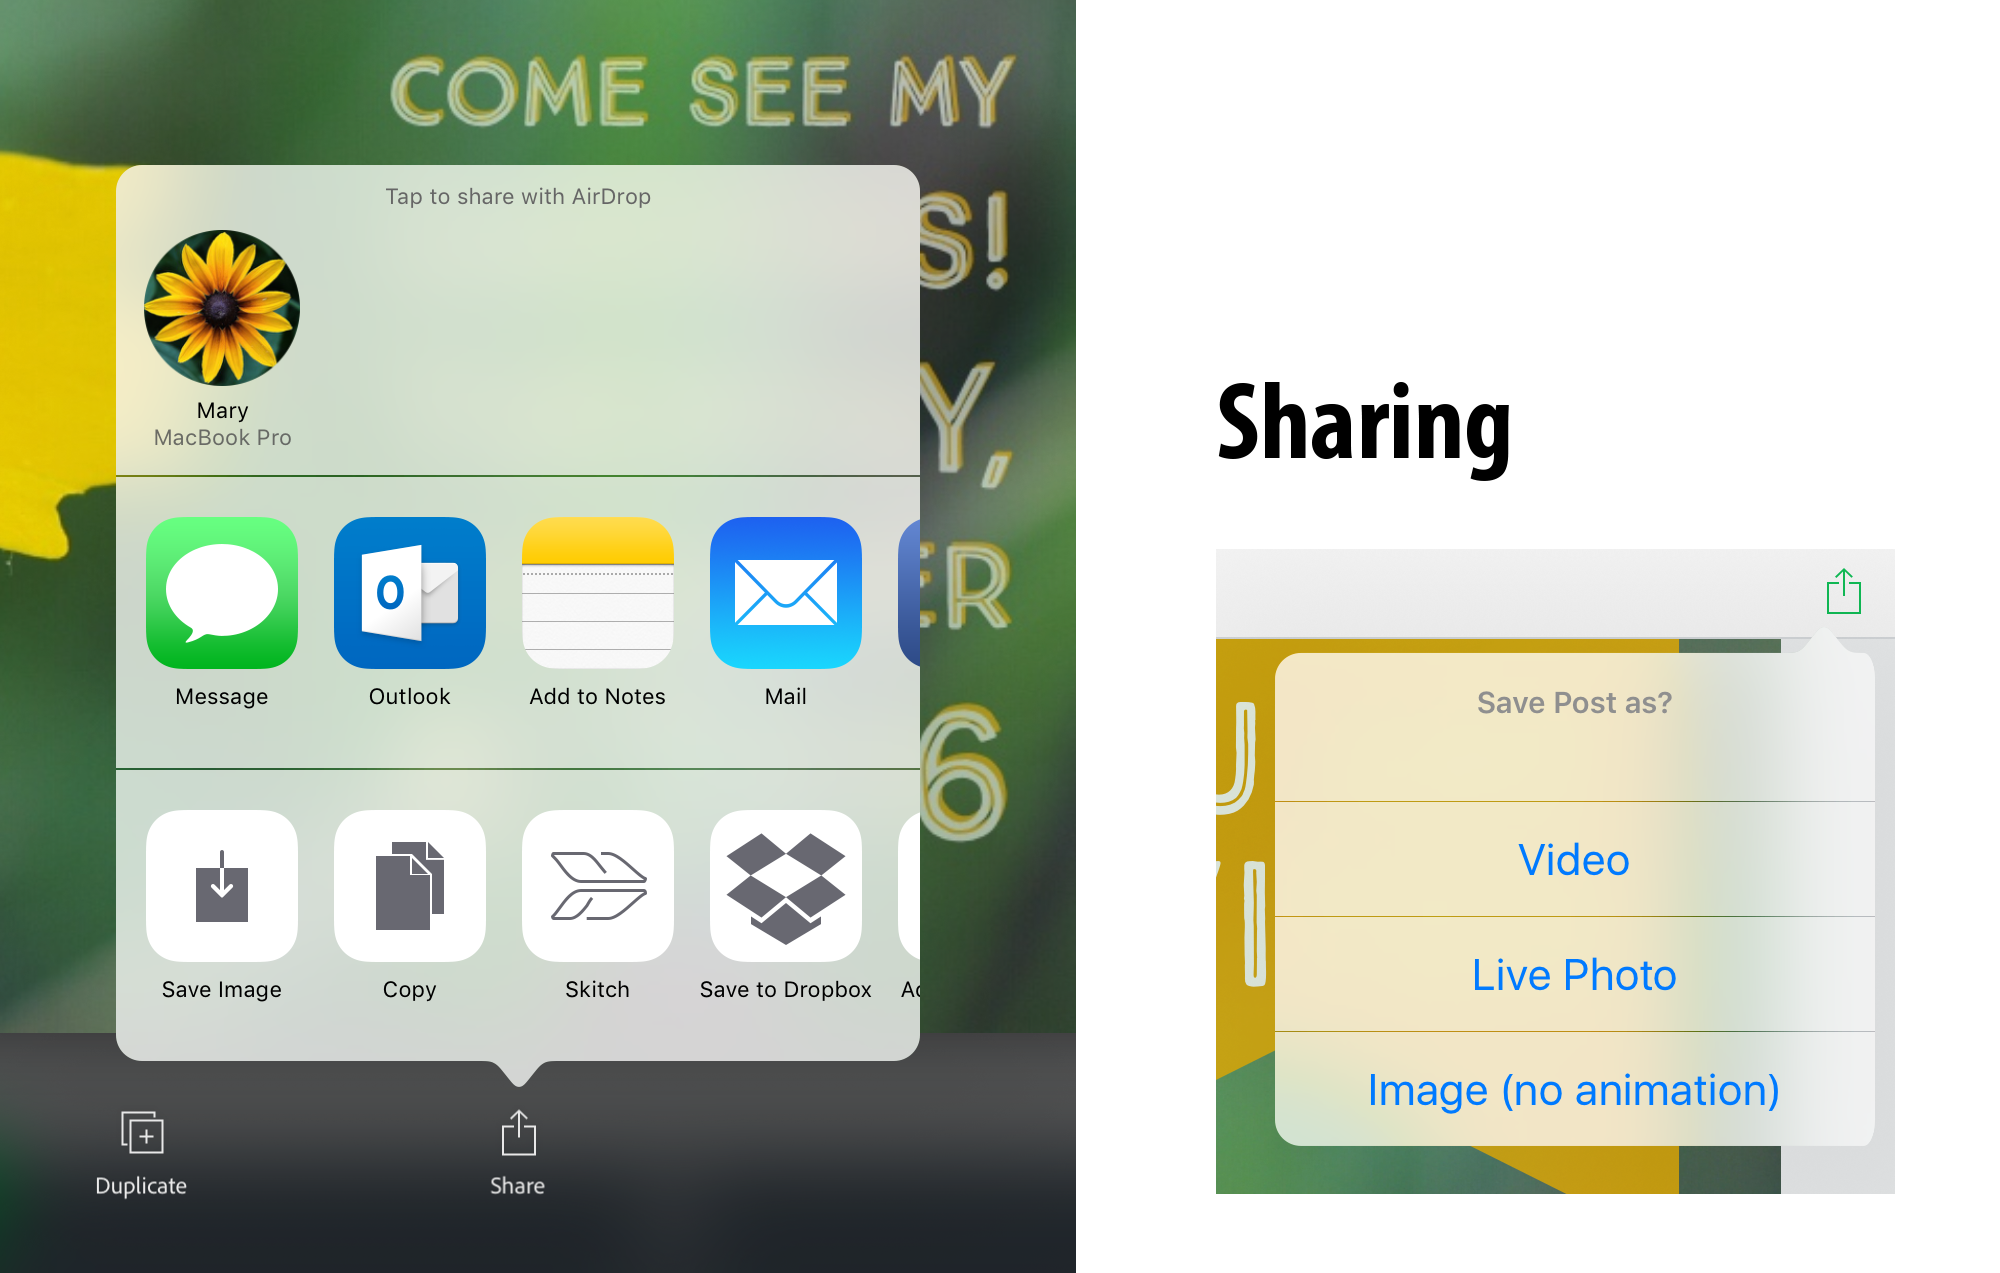
After you are finished making your social-ready Post masterpiece, it’s time to tap the Share button at the top right of the screen. Posts can be saved as an image to your Camera Roll, sent as a Message or email, shared to Facebook or other social media site, or opened in or saved to a variety of other apps you might have installed on your iPad. If you have added animation to your Post, it can be saved as a video, a live photo, or just a flat image with no animation applied.
Figure 7: Sharing Options
When you create a Post the first time, it automatically places a brand hashtag #AdobeSpark watermark on it, but it can be removed by tapping the watermark. You must share it to remove it – when you tap the Share to Unlock button, it will open your mail app so you can send an email to anyone you like (including yourself), inviting them to check out Adobe Spark. After you do this, the watermark is removed from all of your Posts and will not appear again.
Figure 8: Removing the Brand Hashtag
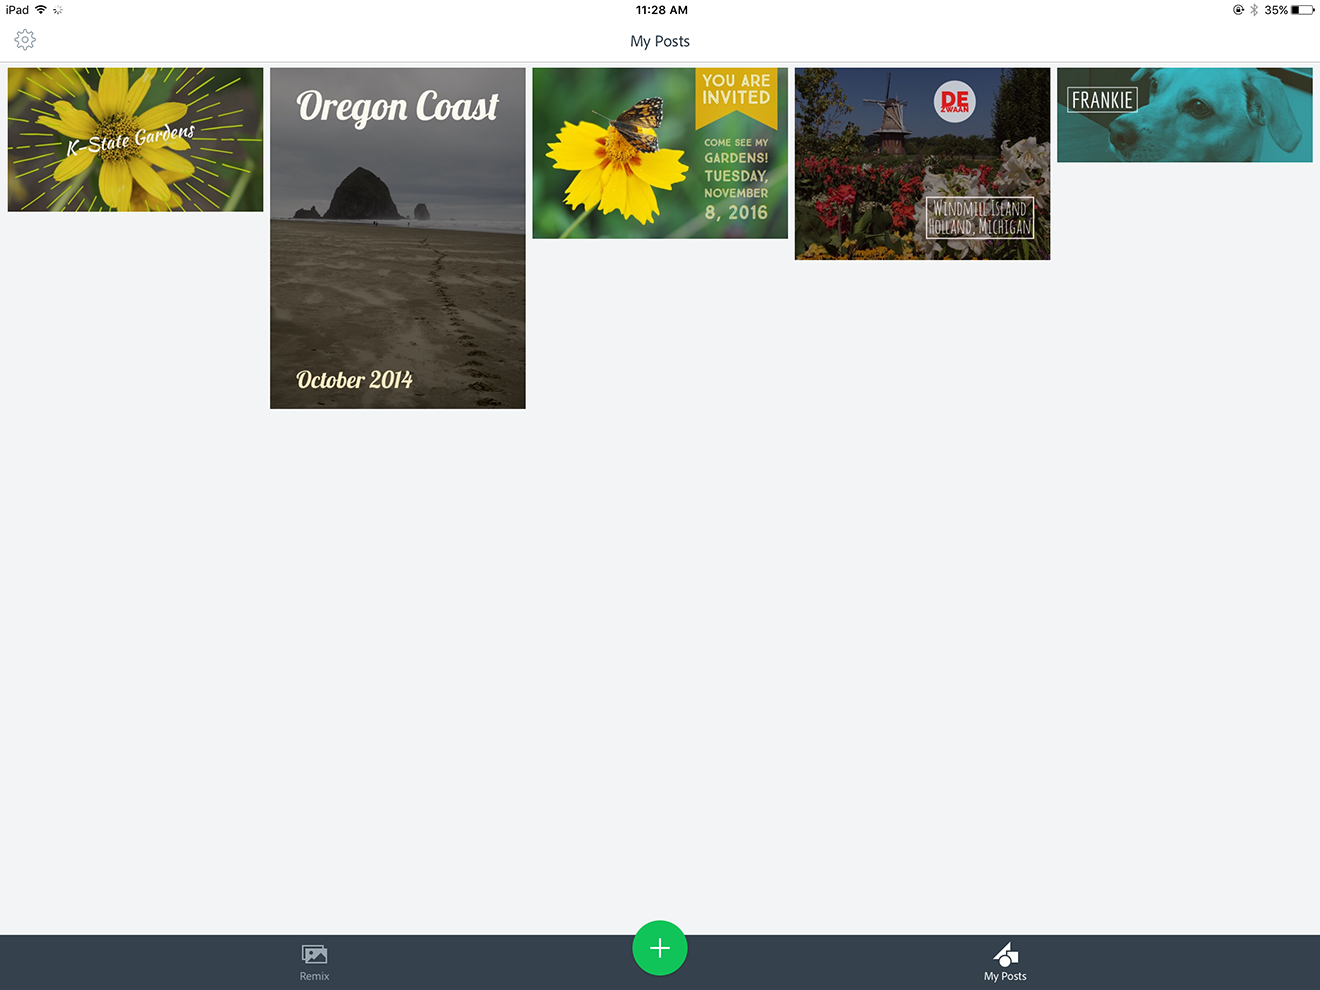
After you are done with your Post, you can see all of your creations under the My Posts tab at the bottom of the app window. At any time, you can go back and delete, edit, duplicate, or share your Post.
Figure 9: My Posts
If you are confident with your own design skills and don’t want to start your Post with a “remix” you can tap the green plus button on the app’s home screen and start from scratch by selecting your background choice and proceeding as above to create your Post. There are limitations to Adobe Post, the most glaring for me being the inability to use or layer more than one photo in a single Post. But overall, being able to create graphics that are sized correctly and automatically for social media is a great plus to this simple-to-use app.
Adobe Spark Post in Education
Once again, Adobe has given us a free tool that lets us create professional-looking graphics ready for any type of “social” purpose, but social media is not the only way these graphics could be useful. Just think about the ways that Spark Post could be used in education. Educators and students could use this tool to create graphics for an endless list of classroom purposes: reports, presentations, games, bulletin boards, newsletters, etc. The tools are here for everyone to enhance the professional look of graphics they create. With Adobe Spark, Adobe continues its commitment to enhancing creativity in the education field and has created an Adobe Spark in the Classroom site for additional inspiration.
Adobe also has a thriving online community called Adobe Education Exchange where educators can share their ideas about using and teaching with all of the Adobe apps.
Sample Posts by the Author
Four sample posts by the author follow.
Figure 10: Sample 1 by the Author
Figure 11: Sample 2 by the Author
Figure 12: Sample 3 by the Author
Video 1: Sample 4 by the Author
About the Author
Mary L. Hammel is Associate Director of the Catalyst Technology and Media Services Center, College of Education, Kansas State University. Her work involves design and production of print and digital materials for educational publications and classroom use. She can be reached at mhammel@ksu.edu.
| Previous page on path | Cover, page 4 of 26 | Next page on path |
Discussion of "Creating Social-Ready Graphics on the iPad or Web with Adobe Spark Post"
Add your voice to this discussion.
Checking your signed in status ...