QuickStart: Adding annotated media to a page
These steps will add an annotation link to a page which will cue up its related content; the placement and size of the resulting media player depends in part on the page's default view. To insert annotated media at a specific position on the page, see Adding inline annotated media to a page. Note that before adding an annotation to a page you will need to have already created the annotation in Scalar.
- Sign in to your Scalar account.
- Click
 in your Scalar header bar to create a new page, or navigate to an existing page and click
  to edit that page.
 - Select the text you want to link to the annotated media.
- Click
 and select the media with the annotations you want to link.
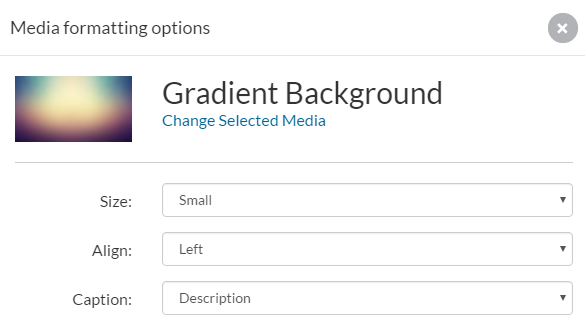
 - Using the media reference options to select the following display preferences:
- Size. Choices include “Small” (206px wide), “Medium” (412px wide), “Large” (620px wide), “Full” (maximum wide of the page), and “Native” (the original size of the media up to the maximum width of the page).
- Alignment. Choices include "Left" (aligned left), "Center" (aligned center), and "Right" (aligned right).
- Caption. Choices include "Description" (the description for the media object will be displayed), "Title" (the title of the media object will be displayed), "Title and description" (the title and description for the media object will be displayed), and "None" (neither title nor description will be displayed).
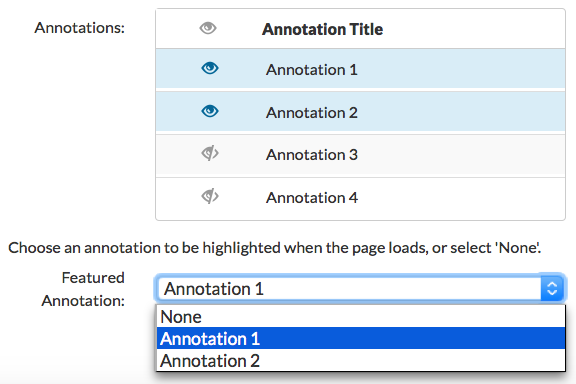
- Next to "Annotations" select which annotations associated with the media object will display. Clicking the eye icon next to “Annotation Title,” at the top of the menu, will alternately select and de-select all annotations in the list.
- Next to “Featured annotation,” choose which of the annotations selected in the previous step will be "Featured," that is, which will display its content on page load.
- Next to "Default layout," select the layout you want for this page (only Basic, Image Header and Google Maps views support linked media).
- Click "Save."
For more details, see Adding Media and Links.